DIY decorative napkins
This November has been jam packed and it was only until yesterday that I had a little down time to work on an easy and inexpensive project for your Thanksgiving Table!
I wanted my table to have a little more of a custom look this year so I went out to purchase some inexpensive white napkins. I was able to find some for .99 cents each.
Here is what you will need:
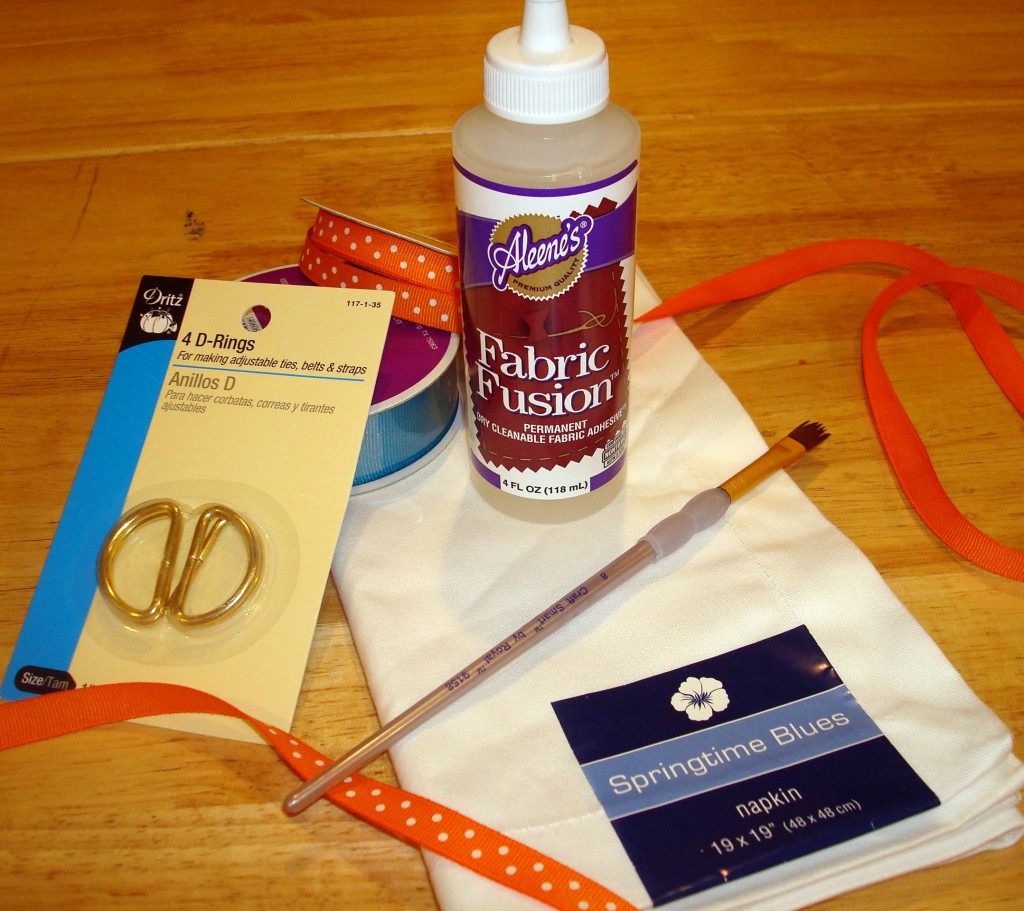
-Napkins
-Two different widths and colors of ribbon
-Paintbrush
-Fabric Glue
-D-rings
Not pictured:
-Frog Tape
-Pencil
1st Step: Iron napkin. You want a nice crisp base to get to work on.
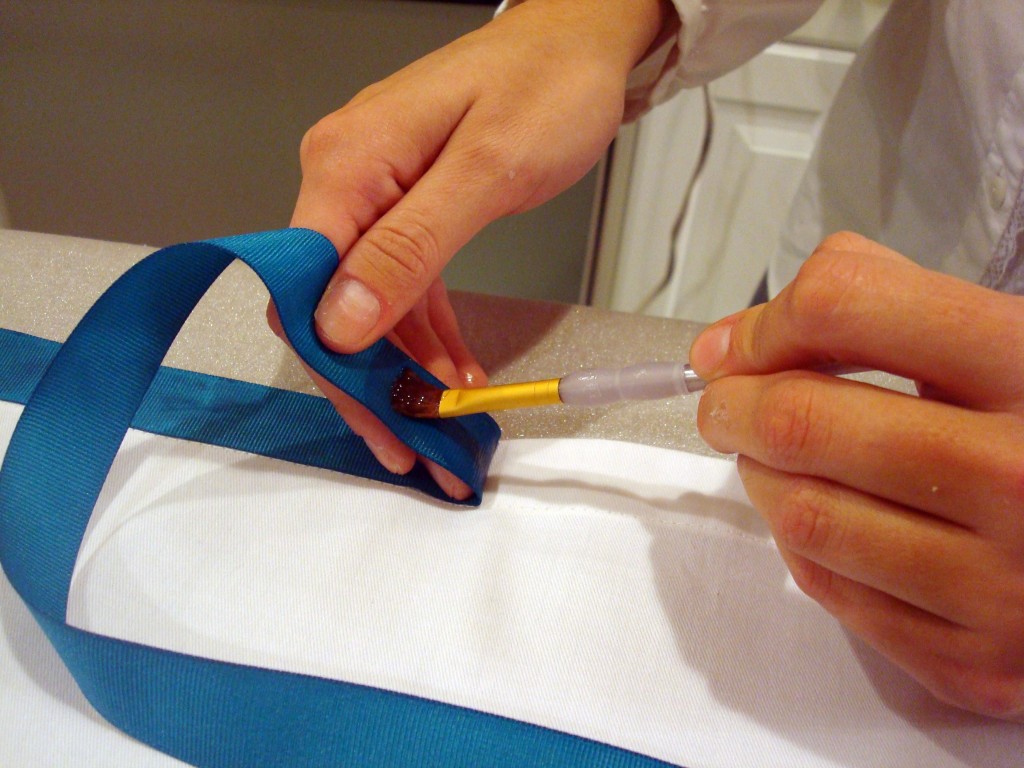
2nd Step: Make a border around napkin. I decided to go with my thicker/teal ribbon for this section. Use paintbrush to apply fabric glue to ribbon:
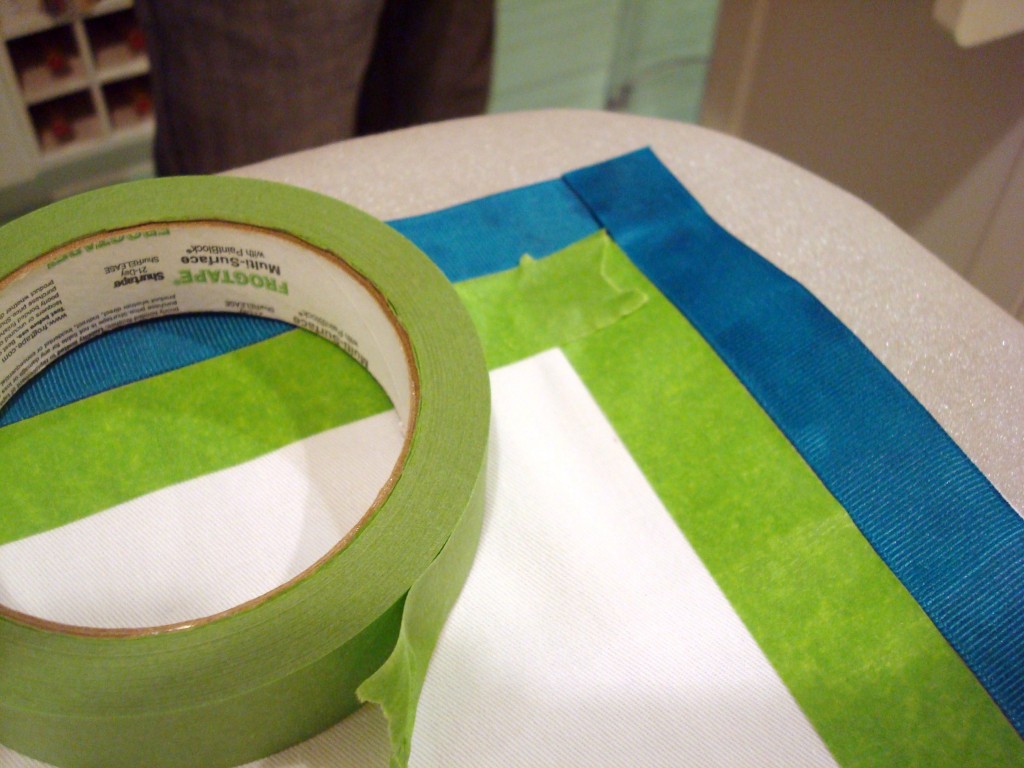
3rd Step: I wanted to added a fretwork pattern to my napkin in a contrasting color (I picked orange, shocking), but I wanted a bit of the white napkin to peek through before I started. The easiest way to do this with go around the border of the napkin with frog tape to save my white space on the napkin.
4th Step: Use you pencil to make a guide for your fretwork pattern. At first this seemed really consuming to me. I wasn’t sure how to start it then Jon came home for work and figured it out in seconds. Gotta love him. In order to make the pattern we started with a 2 inch x 2 inch square from the corner and then worked our way out in 2 inch sections.

Do the same thing to each corner and then draw lines in between to connect them all.
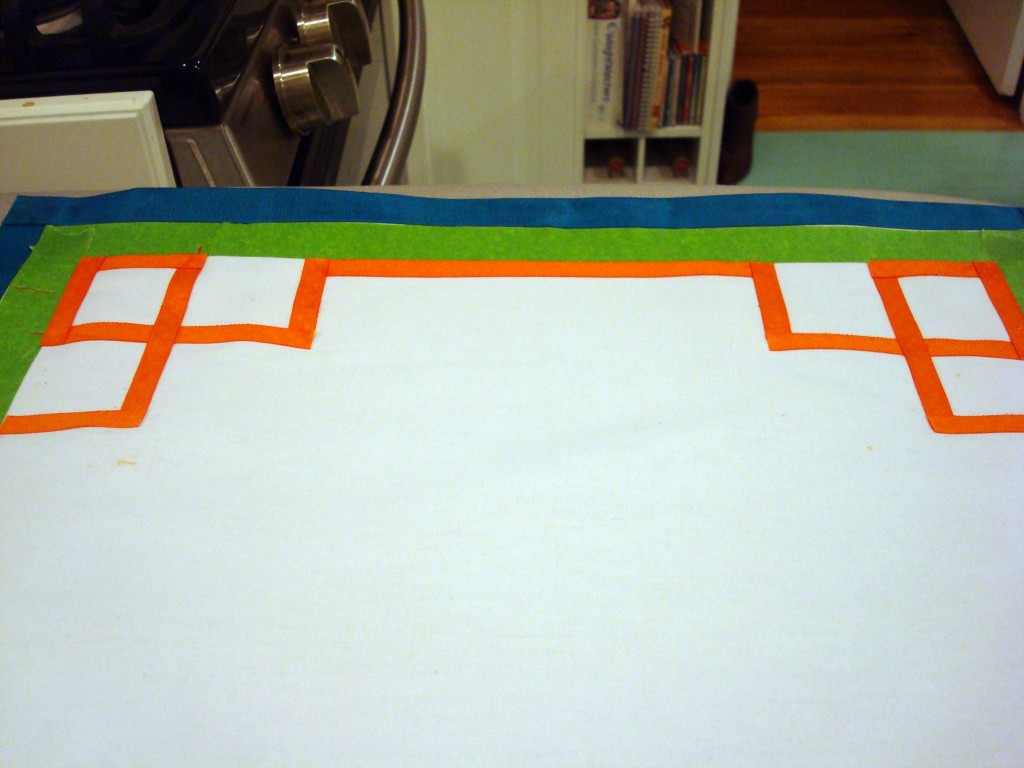
5th Step: Cut ribbon and start gluing! I know in sewing their are different ways to do corners, but in playing around with the glue and ribbon the best option was to indivisually cut and glue each section.
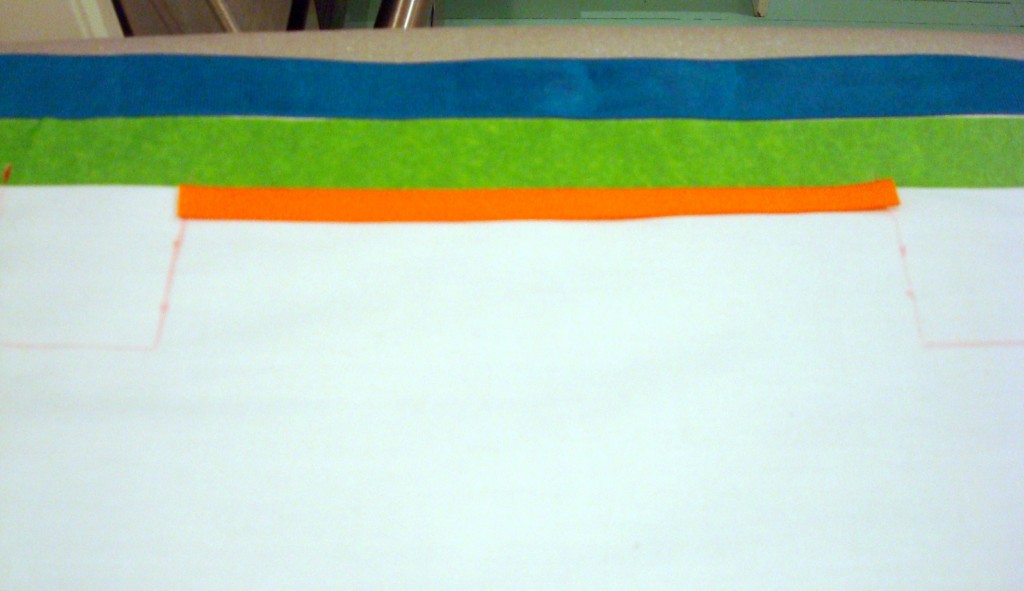
One half finished:
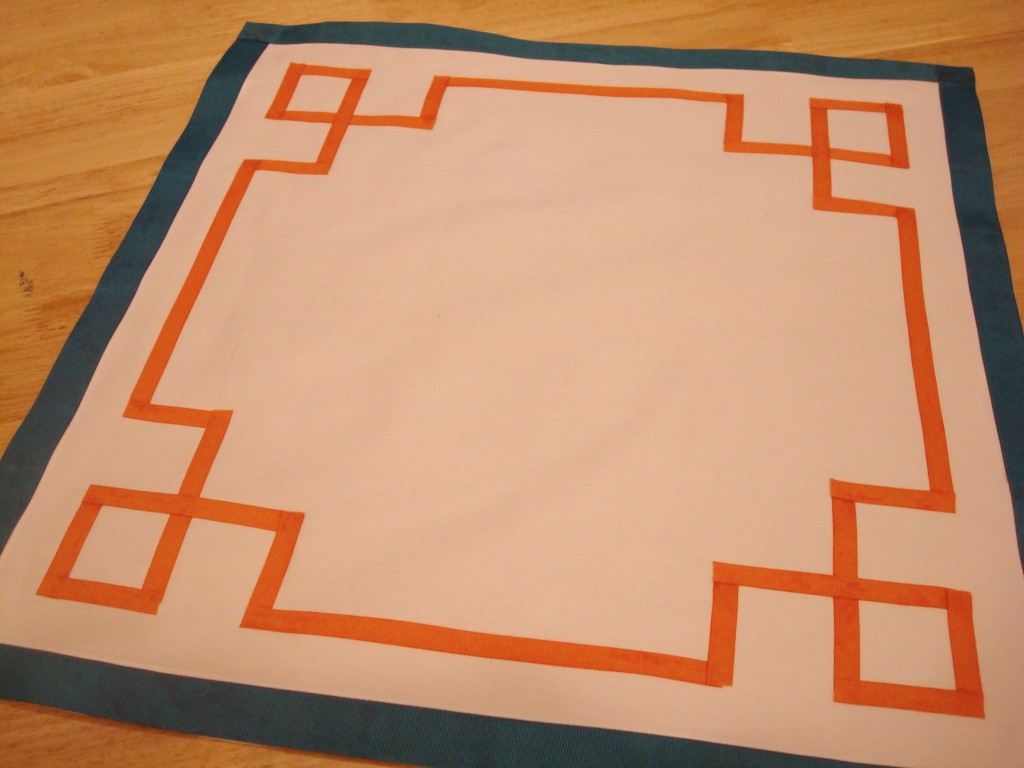
Step 7: Check and see if any sections need extra glue, let dry and then iron! All done.
For an easy napkin ring just grab the thicker ribbon (teal for me), two D-rings and a glue gun.
Step 1: Cut 5 inch section and loop ribbon through two D-rings and glue down:
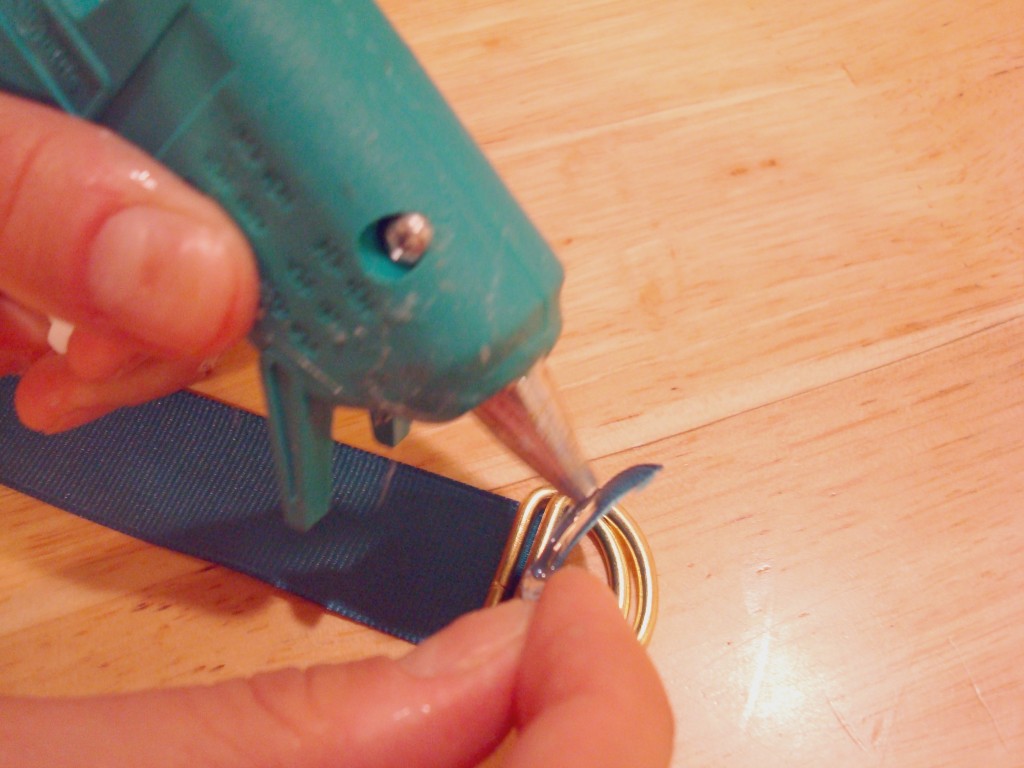
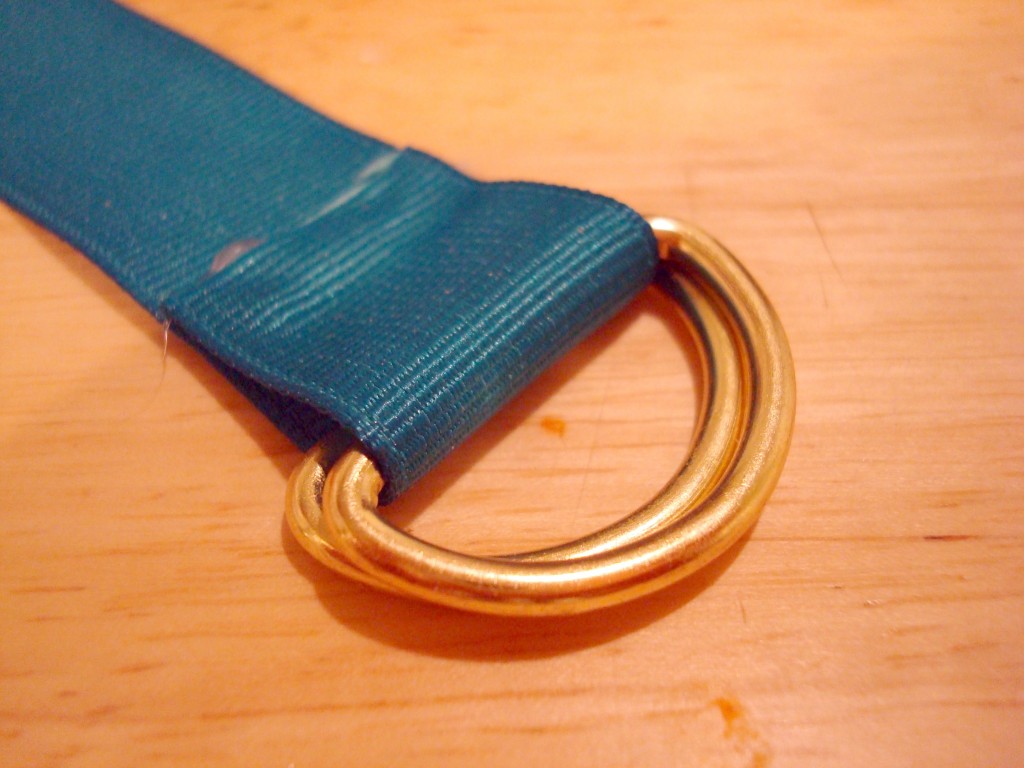
Step 2: In order to get a finished edge of the end of the napkin ring you need to take the ribbon and have the D-ring seem faced down. Then on the end of the ribbon glue the seem facing up. This will make it so that when you loop the ribbon through the D-ring you have no exposed edges.

That’s it now the napkin ribbon ring is finished.
Put it all together:
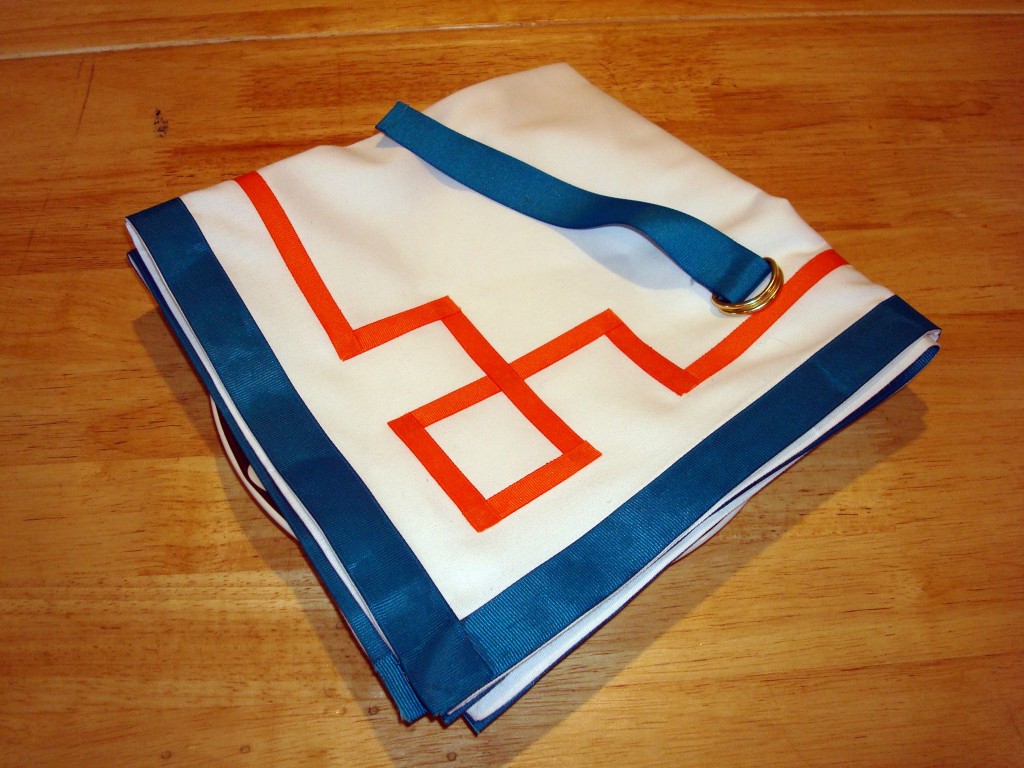
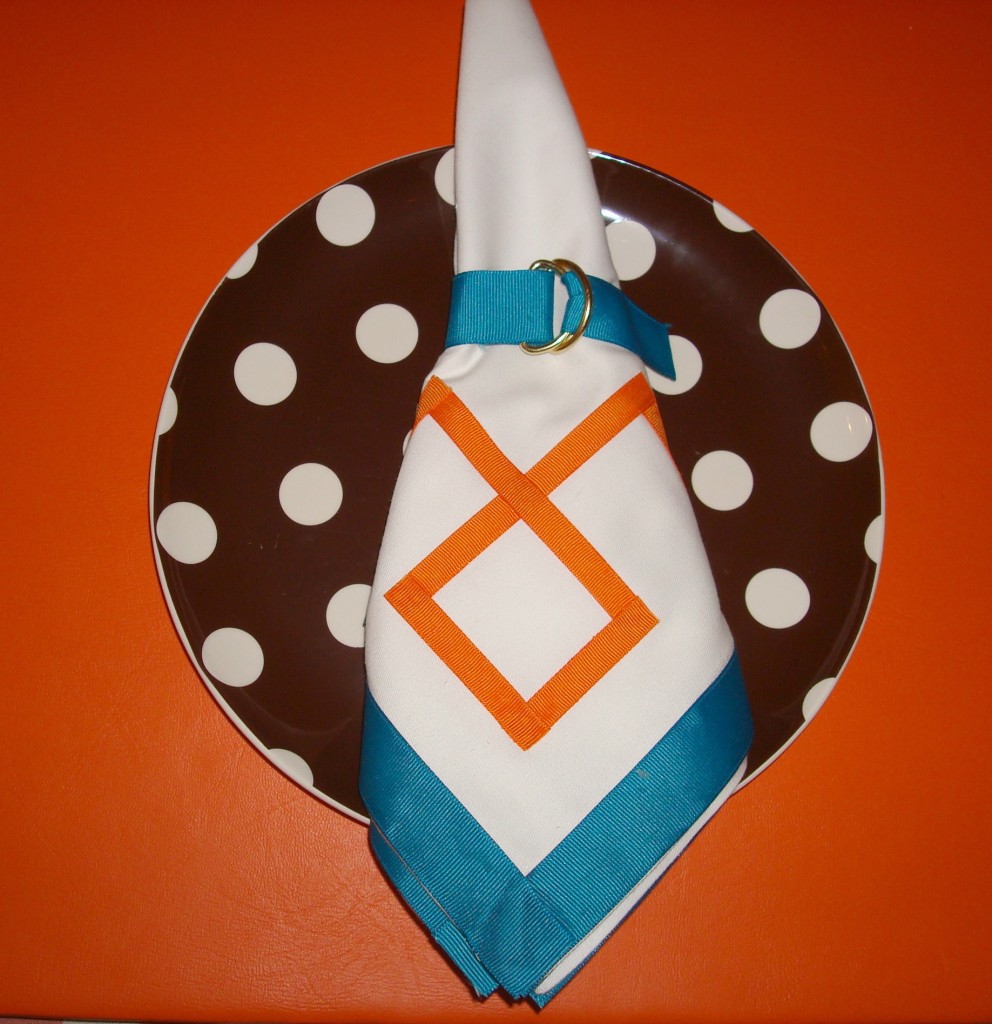
Plus once the holiday is over you can throw the napkins in the wash and use them to make a pillow!
Mock-up:
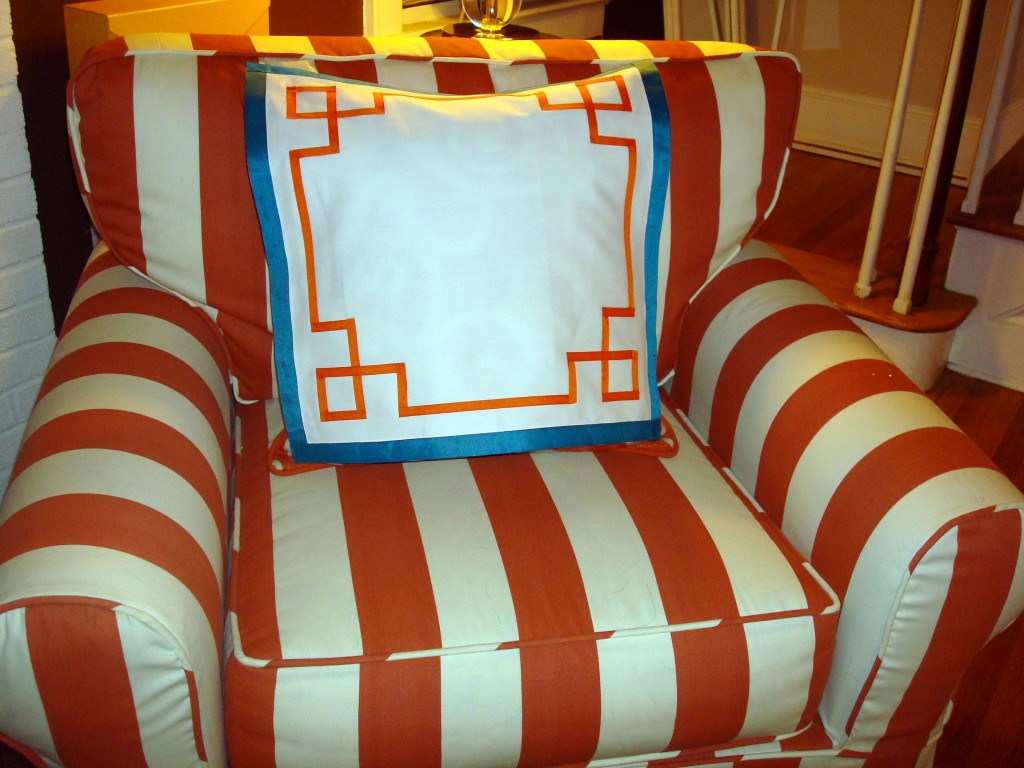
Enjoy! I had so much fun doing this and have already used the same principle to get a fretwork pattern elsewhere in my house.

0 Comments:
Post a Comment
Subscribe to Post Comments [Atom]
<< Home