I know not many wives are begging their husbands to have another lady in their bedroom, but for the past couple of months I had been lusting after
Colette.
Now before you click away from my blog let me clarify. For the past year or so my bed had been driving me nutty. There was actually nothing wrong it. It was in perfect shape and around 5 years old, but I couldn't leave well enough alone.
The
Colette bed from
Crate & Barrel has been on my wish list for quite some time, but the $1,599 wasn't really something I was lusting after.
So after a little begging and pleading Jon decided that making it was a great option! :)
It took two weekends to finish. One weekend to purchase wood, cut pieces and then assemble. Then life got in the way and we lived without the bed upholstered for two weekends and then this past Saturday we finished it.
For this project you will need the following supplies from
Home Depot:*This is for a Queen sized bed.
Qty 4:
1" x 10" fir boards. 2 of those boards will need to be 80" long and the other 2 boards will need to be 61 1/2". (These will be your sides and your head and foot boards)
Qty 4:
5/4" x 4" (aka five quarter board) fir boards that are 80" long (These will be your side supports & center support)
Qty 1:
2" x 4" stud cut to 80"(This is part of your center support)
Qty 14:
1" x 3" fir cut to 60" (These will be cross rails that your mattress will lay on)
Qty 1:
4' x 8' x 3 /4" MDF sheet cut to 61 1/2" wide (This will be your headboard)
Qty 2:
1" x 4" cut to 60" (These will be used as lower supports)
Qty 2:
1" x 3" cut to 60" (These will be used as lower supports)

The headboard is made out of MDF and with the help of a grid you can get the perfect curve. Jon made 6" x 6" grid boxes in order to check our curve. The grid is also helpful if you want to tuft your headboard.

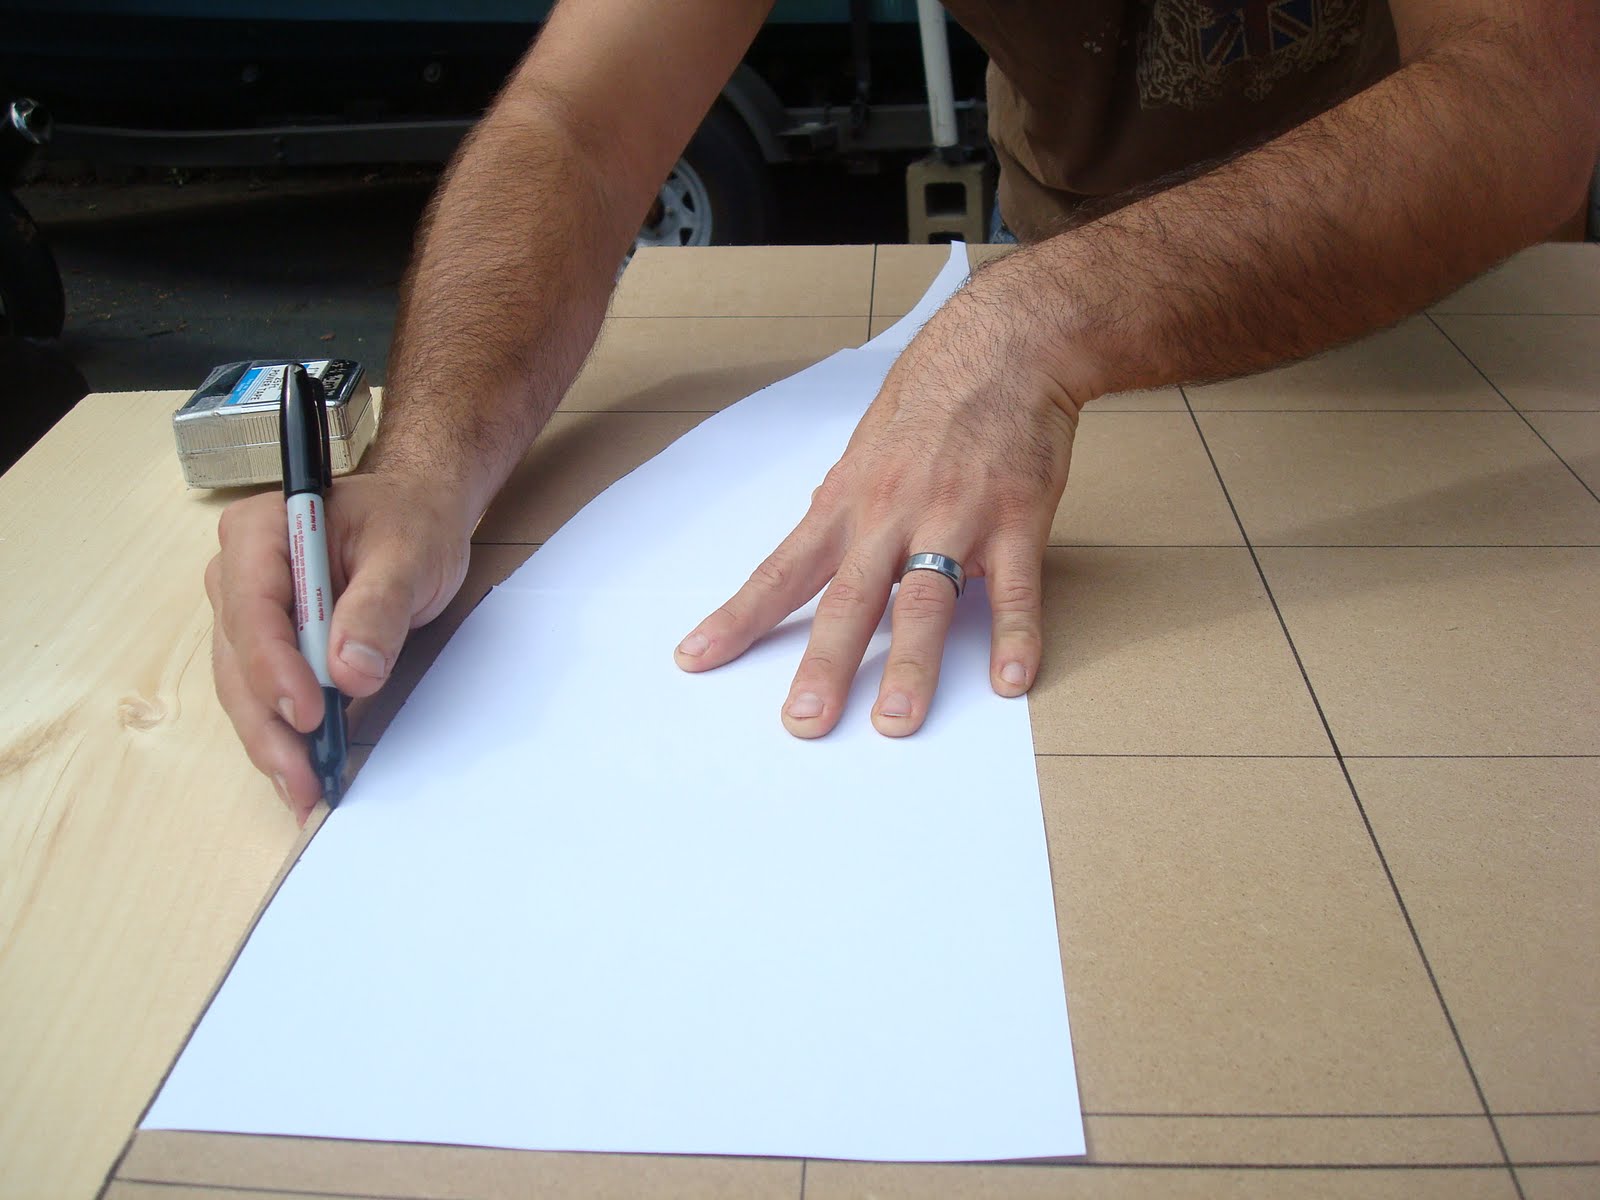
First we used paper to create one half of the curve. This is done free hand so you can make it as extreme as you like.

Once you are happy with your curve cut it out with a razor blade. You have just created your template:

Then you lay it out:

Next trace curve with help of template on one half:

Then flip your template over to the other side and trace your template.

Make sure that the distance from the bottom of the template to the top of the mdf is equal on both sides.
*If your measurements are off then start again with the template, you want your curve to be equal on both sides.

To double check the curve with the help of the grid you can measure the points where the curve crosses the grid. This measurement should be equal on both sides.

Now the fun part. Take out your jigsaw:

And slowly cut along the curve:

You may get some rough edges so take out your belt sander and smooth them away.

Now that all of your pieces are cut it's time to put it all together.
Take one 5/4" x 4" x 80" board and nail it to one of your 1"x 10" x 80" boards. We nailed it 3/4" above the bottom of our 1" x 10" so that our mattress would sit inside our bed frame. You will need to do this a total of 2 times. (These are your side supports)

Add liquid nails to the edges of the pieces you just created:

Now get your 1"x 10" x 61 1/2" boards (These are your head and foot boards) and nail them to your side pieces.
*Mount your 80" side boards inside the 61 1/2" head and foot boards.
**Your inside dimensions should now be 60" x 80" that is the size of Queen mattress.

To make sure that your frame is square measure from one corner to the opposite corner and then do the same of the remaining two corners. You will be making an X. If your measurements are identical you are good to go.
 Flip your frame upside down
 and nail one of your 1"x 4"x 60"into the frame to support the head of the bed and then take your additional 1"x 4" x 60" board and nail into the foot.
Additionally take your 1"x3"x60" boards and nail those evenly in the middle of the bed for added support.
 Flip the bed back over
 and grab your remaining 5/4" x 4" x 80" boards and your 2" x 4" x 80" stud. Lay your 2" x 4" x 80" stud flat and butt a 5/4" x 4" x 80" board to side standing up and nail together. You should have a long U shaped support piece. Flip it over and lay it down the center of your bed. The center of your U shape support should be at 30". Pictured below in the center:

In order to support your weight you must screw U shaped piece from the head and the foot of the bed. Now you must flip it on it's side and screw your center support into your lowersupports:

In the lumber section at Home Depot you need to pick up 4 heavy duty top plates. (Pictured below) Along with 4 legs of your choice. Screw the heavy duty top plates into the corners of the bed and screw your legs into them.

We re-used the cross-rails from our original bed, but if needed here is where you would use your 14- 1"x3"x60" boards. Lay them evenly across the entire length of the bed and secure them with nails.

Voila bed frame and headboard are finished. This took us one weekend, but not the entire two days. While there are a lot of steps it was a pretty easy project.
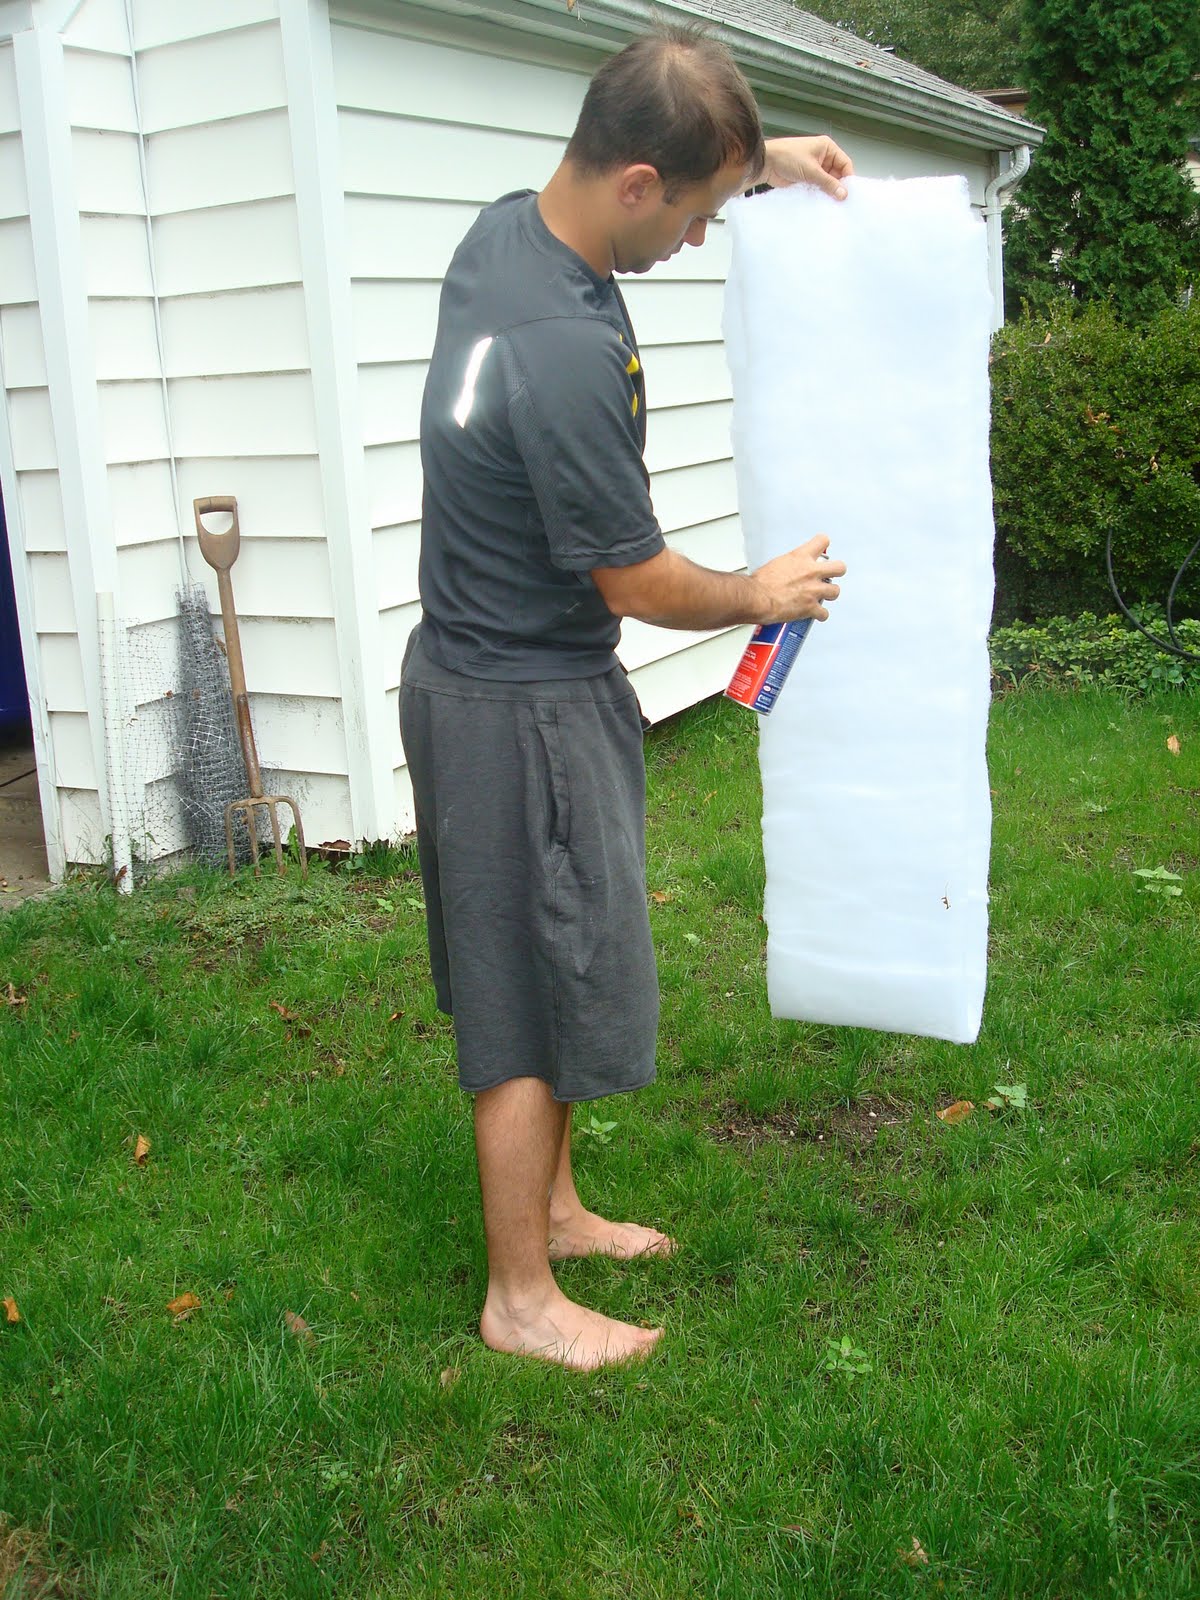
Now to make it upholstered. We used a queen sized mattress pad (Around $19 at Walmart):

Go around and wrap and staple:

For the base of the bed we purchased two twin sized mattress pads ($9 a pad) and cut them in half length wise. They don't go completely around so there will be some seams, but under fabric it is not noticeable at all.

With your pieces cut you can just wrap and staple away:

Now you need to do the same with the fabric. We purchased 6 yards of neutral linen. We got it at a steal for $4 a yard!
* Because we didn't want a seam the very bottom of the headboard is not covered with the linen. It's up to you. Once it is screwed into the base you can not tell.

For the base you simply wrap and staple as well You do need to pay a little bit of attention to the corners. We wrapped completely down the side board and around 6" past the foot board on both sides.

For the foot of the bed we simply folded over the edges of the fabric to give us a clean edge and stapled it down.
*If you purchase more yardage you could wrap the entire base with one continuous piece of fabric. Avoiding seams. We didn't think of that till after we were finished. Oops!
**We didn't cover the head of the base, because we were mounting the headboard directly on it.

To mount the headboard to the base we used books/magazines to prop it up to the height we wanted and measured to make sure it was equal on both sides.

Use the tape measure to also make sure when you are screwing into place you are going into the base and not your mattress! :)

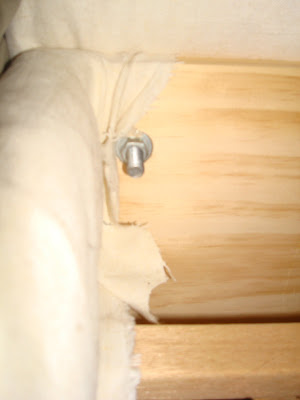
For main support we used a 3" nut and bolt to secure the headboard on the corners of the frame:

We put our bolts 8" up from the bottom and 2" in from the side:

This is what the bolt looks like inside the bed frame:
This is how it will look from the back of the headboard:

Once your sides are bolted into place you can use 1 5/8" dry wall screws in the center of of the headboard for additional security. Again place all screws below 8" so that you do not hit your mattress.
Now you are officially finished! If you know how to do upholstery then you can give your back of the headboard a finished look with fabric, but we left as is, because it is up against the wall.
You can now put everything back into place, make your bed, put on your jammies and go night, night.

Covering the bed in foam and fabric took between 4-5 hours.
We are so happy with it!

Now who is going to follow suit and DIY?
Estimated Cost:
$200 for wood, hardware and legs
$45 for foam
$25 for fabric
Total: $270 vs $1,599.99
Estimate Labor:
12-15 hrs. We split it up into 2 weekends, but it could be finished in one weekend.
***Writing this blog post took longer. It's now almost 2 am and we are finally able to enjoy our bed and get some rest.
Labels: DIY, look for less