DIY: No Sew Box Pleat Valance
I’m still not on good terms with my sewing machine so I’m always on the look out to figure out no sew solutions to get my custom window treatment fix.
This project took a couple of hours, but was really simple.
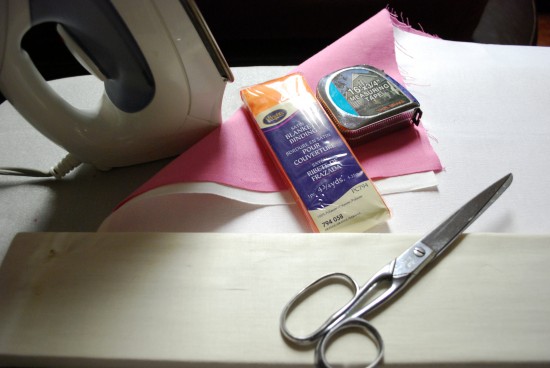
Here is what you need:
- 1/2″ thick mounting board that needs to be covered in neutral fabric. Length of board is determined by window size. Add extra 2″ to the window size for easy installation. When measuring the window you need to measure from outside of trim to outside of trim.
-Qty 2: 2 inch L brackets per window
-Iron
-No Sew tape
-Scissors
-Tape measure
-Fabric
-Lining fabric. I went with outdoor canvas which is stiff and great for forming the valance.
-Blanket binding
Step 1: Cut your fabric to size. You will need 3 separate panels. One for the main section of the board and two smaller sections for the sides. Measurements depend on the size of your window. It will vary for everyone. Now remember the top of the board is going to be covered with your fabric as well so when you are deciding on a width make sure to add a couple of extra inches to your measurement.
For example if you have a 34″ long window then you will need a 36″ long board that is 3″ wide and you want to have the valance hang 10″ long you need to cut a piece that is 38″ long (this allows for a 1″ hem on the sides) and 15″ wide (This allows for the 10″ for hanging, the 3″ to cover the top of the board , an 1″ to staple on the back side of the board and an 1″ for hemming the bottom of the valance.
*Sounds complicated, but once you see the pictures below it will all make sense.
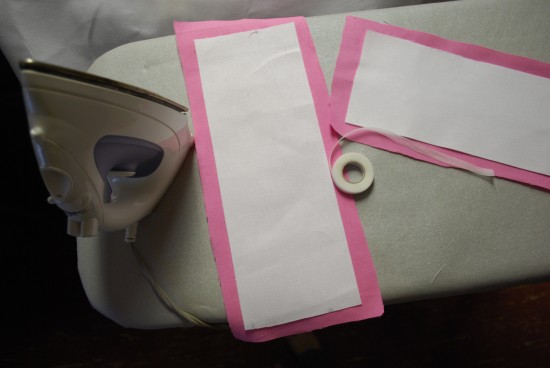
In order to give my window treatment more weight I lined my fabric with outdoor canvas.
In order to get a nice crisp hem with my no sew/iron on tape I made my lining fabric an inch smaller. Hem the sides only and wait to do the bottom hem until the main piece is stapled on to the board.
When you cut the sides make sure to make the panels 2″ wider in order to have some fabric to wrap around the front and give the box pleat look. Again remember you need some extra inches for hemming.
For example if your mounting board is 3″ wide then you need to cut a piece that is 7″ wide ( 1″ to hem the back, 3 ” for the width, 2″ to wrap around the front and 1″ to hem the front.) For the length we still need to get to 10″ for our finished length, but it’s a bit different than our main panel. You need 2″ to staple the side on to the mounting board, 10″ for length plus 1″ to make your finished hem for a total of 13″.
*We hemmed the sides on the side panels and then waiting to hem the bottom once the side panel was stapled on. It makes it easier to ensure you are at 10″ inches.
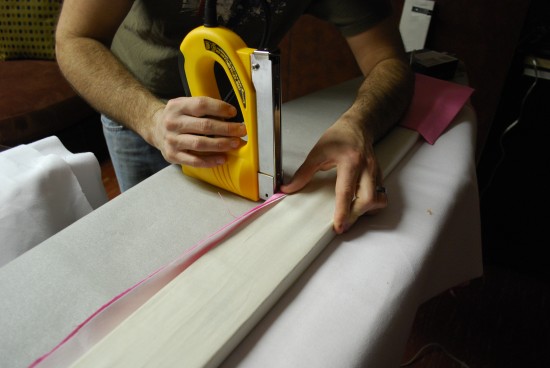
Step 2: Once all of the measuring and cuts are made the hard part is done. With all of the pieces hemmed(except for the bottom hems) you can now start stapling them on to your board.
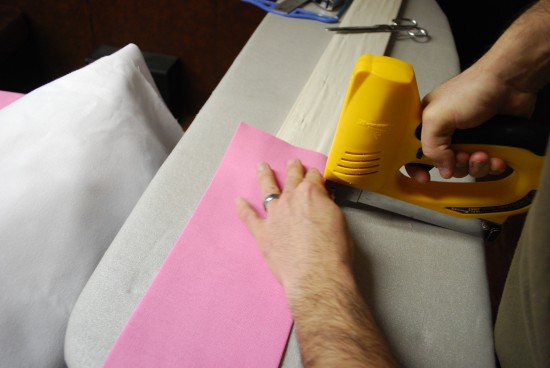
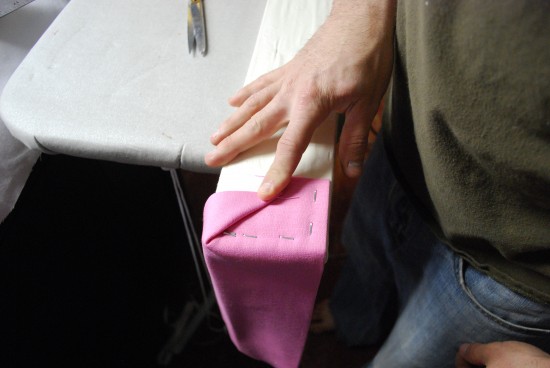
Make sure to staple your side firsts. The main panel will lay over the sides and give a crisp/clean finished look.
When turning the corner just wrap it like a present and staple away:
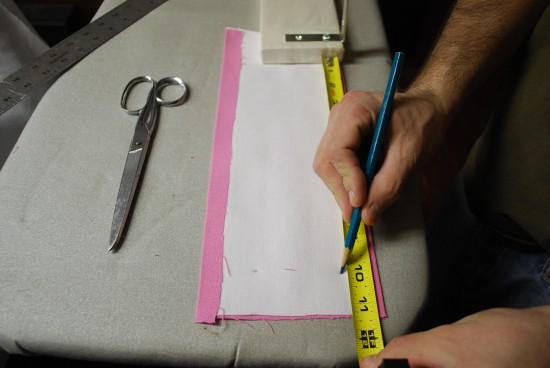
Once the side panel is staples on top you can now hem the bottom. Measure out to 10″ and make a mark:
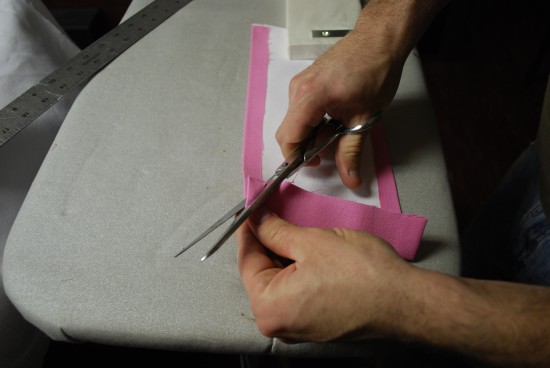
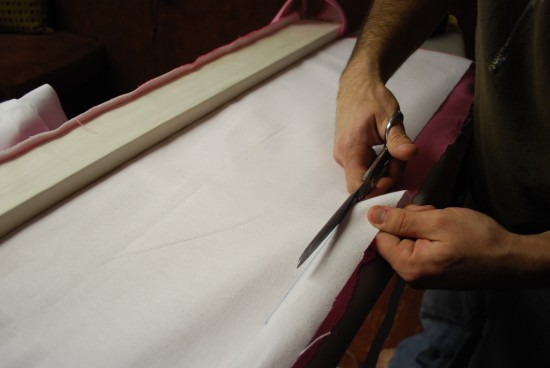
To get a crisp edge on the sides make sure you cut the edges on an angle.
Repeat the steps for the other side panel.
Step 3: Attaching the main panel. You will first staple the panel onto the edge of the mounting board.
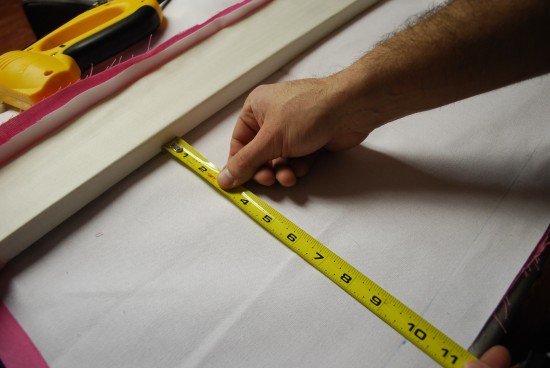
Once piece is stapled on to the board take your tape measure and mark 10″ from the bottom edge of the board:
You can cut the the lining fabric at the 10″ mark. You will have an inch of the pink fabric remaining that can now be folded over the edge of the lining fabric and hemmed perfectly at 10″.
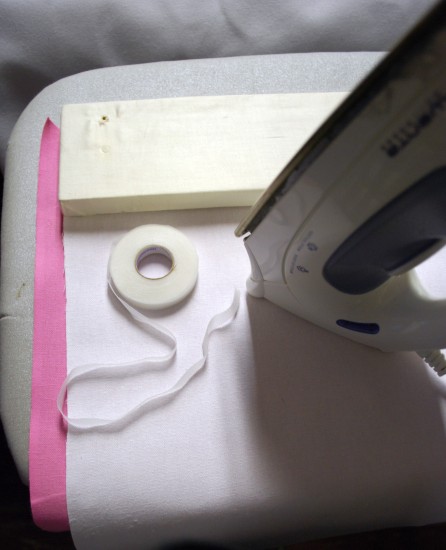
I used iron on hem tape for everything and once you are done ironing the hem on the main panel you are almost finished!
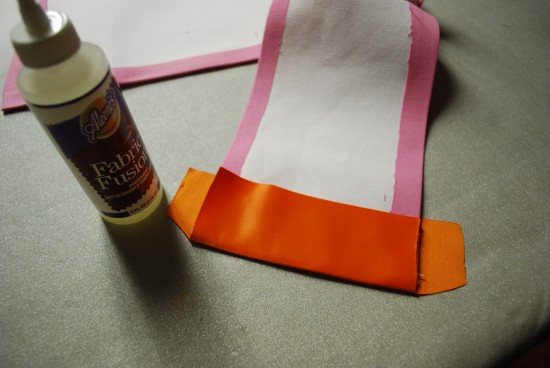
Now you can leave the piece as is and hang it, but we wanted to add a contrasting color. The blanket bindingwas the perfect solution for this. It gave me my contrasting color, it was inexpensive and it gave me a nice finish and no measuring was necessary.
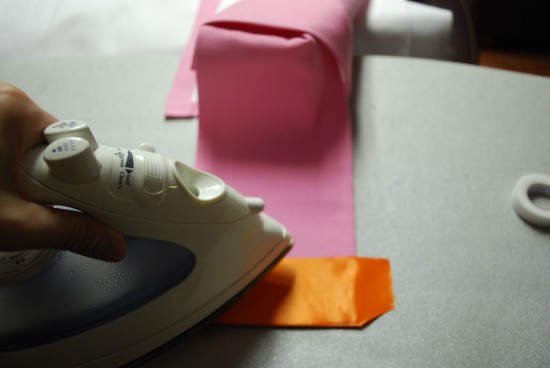
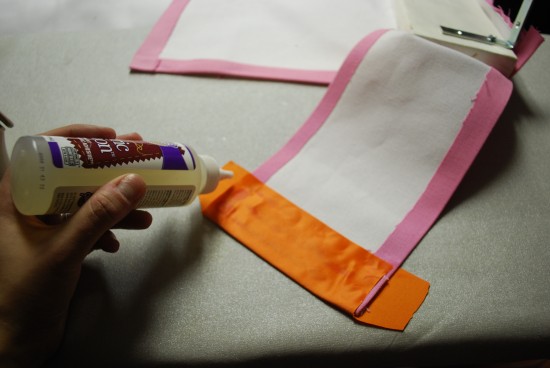
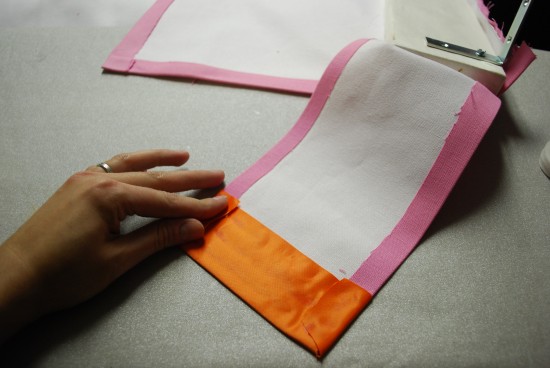
A picture is worth a thousand words so instead of heavy copy trying to explain how we added on the trim check out the following pictures:
Once that’s done you can do the same to the other side and then main panel.
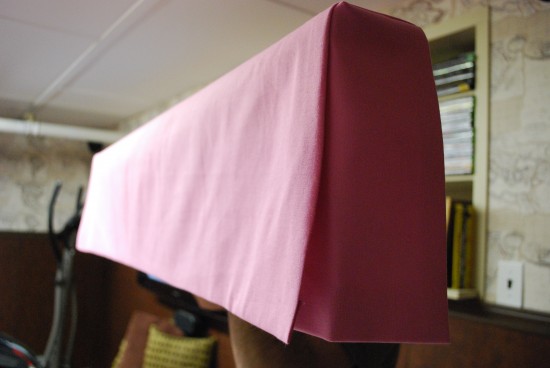
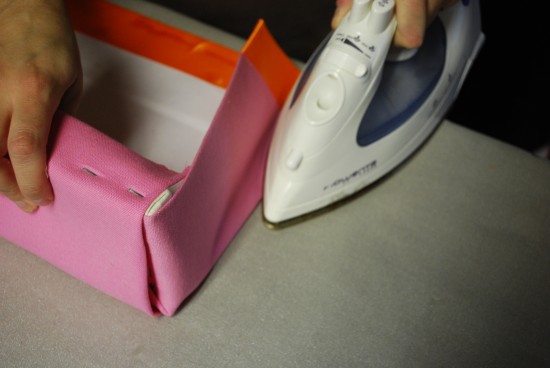
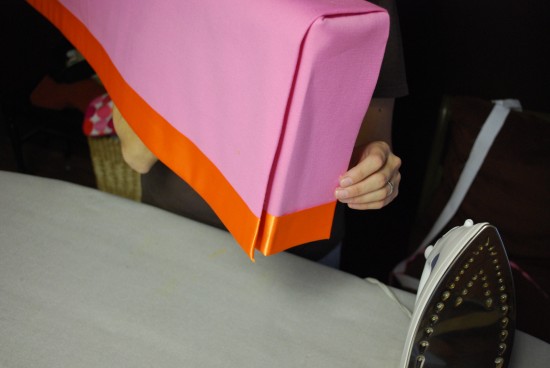
In order to get a crisp finish on the box pleat we used our iron to work on the sides:
Voila:
*We used fabric glue to attach the blanket binding to the back of the fabric panels. No real reason for it. We were just running low on the iron on hem tape.
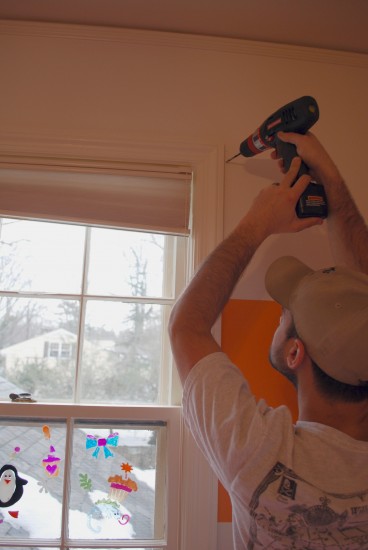
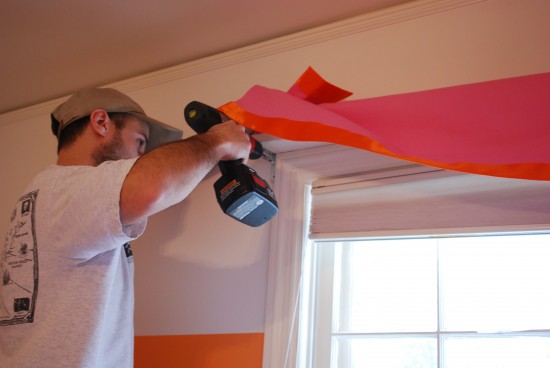
Here is how you hang them up:
Place holes for L brackets on the sides of the window trim:
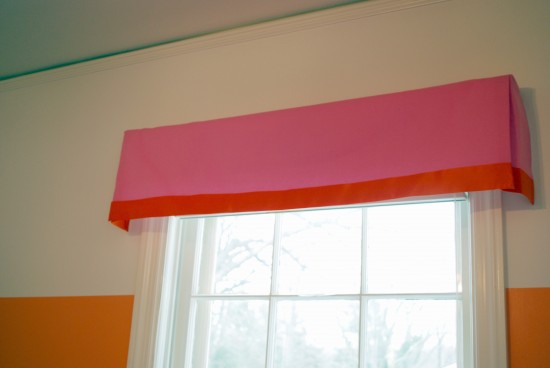
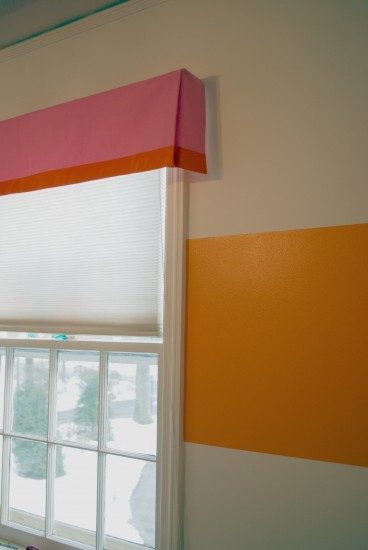
All finished:
I’m not going to lie the project is a bit time consuming. It took us about an hour and half per valance, but cost wise it’s worth it.
Budget Breakdown:
2 yards of pink canvas: $16
1 and half yards of white outdoor canvas for lining: $14
1 package of blanket binding: $5
Package of iron on hem tape: $ 9
We reused the mounting boards: Free
Total: $44 for two valances.
If you have any questions leave them in the comment section and I will be answering them there. If you made it through this huge post then Bravo!

10 Comments:
Fantastic explainations with very helpful photos.
What type of stapler are you using?
Any special staples for the Project?
& when are you headed to Atlanta? We need your help with a 1930s bungalo. :)
This DIY project is great! The drawers being another color is a great idea!
xo,
amanda
This iss a fabulous tutorial! Can't wait to do one of these for my kitchen nook.
Fantastic! youre projects are great, with great explanations to. I recently bought a chair wich was perfect already called Stoel ridge rib finally something I dont have to change hihi
Fascinating information I haven’t been experienced such information in quite a long time. bubblegum casting
I like your post and I am truly happy to post my comment on your website. Very informative and helpful post. You have good command on the topic and have explained in a very nice way. Thanks for sharing.
Can ho vista verde,
dien dan an uong,
dat nen dai quang minh
du an can ho vista verde
great article
very beautiful
Khasiat Agaricpro Obat Herbal Penurun Darah Tinggi Obat Herbal Ambeien Akut Obat Herbal Batu Empedu Tanpa Operasi Obat Herbal Sinusitis Kronis Obat Herbal Tumor Otak Jinak Obat Herbal Wasir Kronis Tanpa Operasi Obat Herbal Liver Kronis Paling Ampuh Obat Herbal Bronkitis Kronis Obat Herbal Usus Buntu Tanpa Operasi Obat Herbal Eksim Paling Ampuh Obat Herbal Gagal Ginjal Kronis
pengobatan herbal alami untuk mengatasi berbagai macam penyakit secara alami
Obat Herbal Diabetes Melitus Mujarab Obat Herbal Klep Jantung Bocor Pada Bayi Obat Herbal Pembuluh Darah Pecah Ampuh Obat Herbal Thalasemia Paling Ampuh Obat Herbal Syaraf Kejepit Ampuh Obat Herbal Selulit Ampuh Obat Herbal Demam Berdarah Mujarab Obat Herbal Diabetes Insipidus Obat Herbal Vertigo Akut Obat Herbal Tipes Mujarab
it is a good thing that you can do it by yourself.. you can adjust everything..
Click here for Garage Doors Fair Oaks CA
wow.... it was a very nice idea :)
Commercial Chairs for sale
Post a Comment
Subscribe to Post Comments [Atom]
<< Home