DIY: No Sew skirted table
Months ago I picked up a neighbor’s cast away dresser and decided to give it a new life!
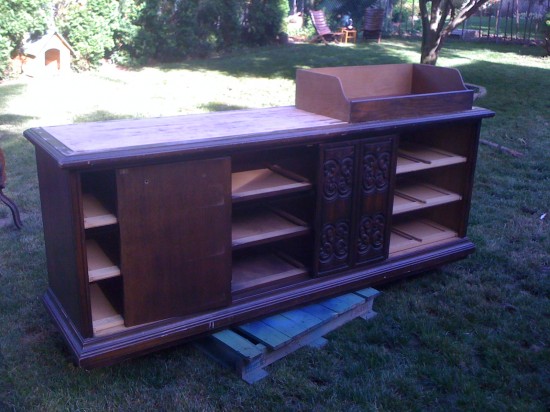
Originally it was a dark walnut stain:
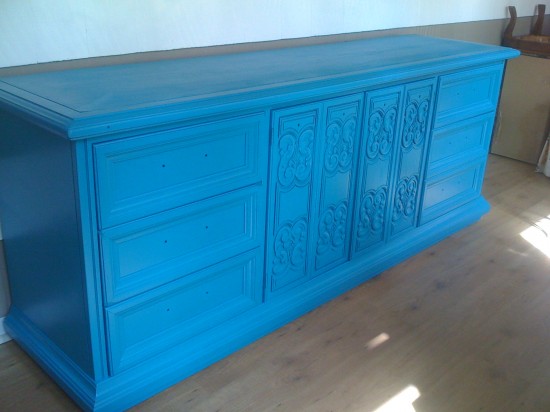
We then tested out our paint compressor (totally love it!) and got this:
I wasn’t in love with the ornate design on the doors of the dresser so I had to come up with a different solution. Of course my immediate thought was a skirted table, but paying for a seamstress wasn’t in the cards so I came up with an alternative.
Enter some bargain fabric (only $5 a yard) and stitch witchery vinyl and a piece of mdf!
I decided my skirted table needed to have some faux side pleats so that I could easily open and close the drawers. Now measurements vary depending on the size of your piece, but I cut to cut the following pieces:
-2 side pieces (Make sure you add an extra 6″ to the width so you can make a faux pleat)
-2 front pieces
-1 skinny piece for the faux pleat in the middle
-2 side pieces (Make sure you add an extra 6″ to the width so you can make a faux pleat)
-2 front pieces
-1 skinny piece for the faux pleat in the middle
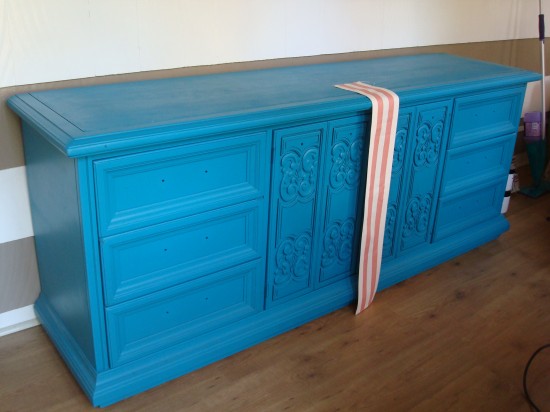
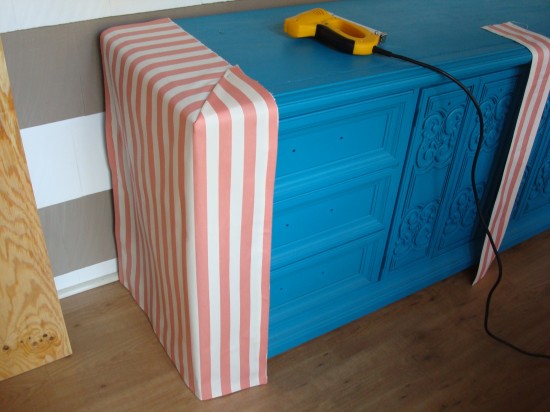
Once you have the pieces cut use your stitch witchery to iron on a nice hem on all of the pieces. Once that is done start my taking some measurements to find the middle and staple your skinny piece here:
Once that’s done it’s time to work on the sides. For the side pieces you will have a bit of extra material. The extra material will give you a nice crisp corner and provide a faux pleat for you. Pretend you are wrapping a large gift and use the same technique on your fabric:
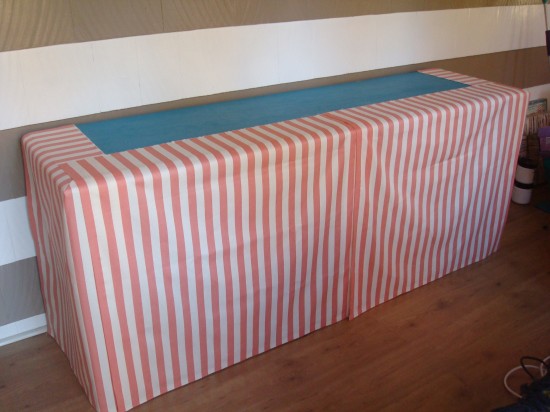
Once both sides are done it’s time to do the front panels. Just center each front panel in between the corner pleat and the middle pleat:
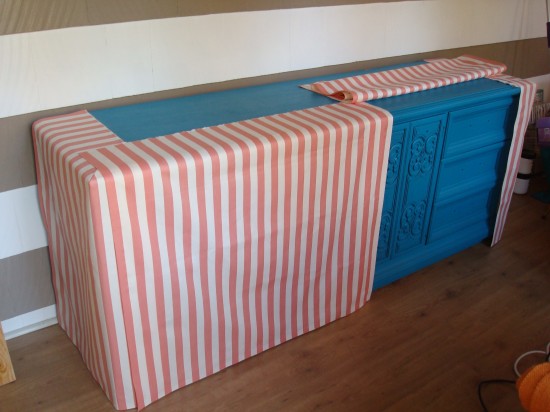

Now I didn’t want the top piece to stay exposed and I didn’t want fabric on the top, because I was afraid it would get dirty and since I would be stapling it on I wouldn’t be able to remove it and wash it.
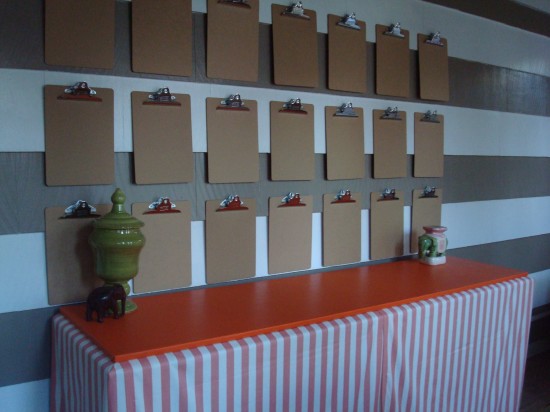
Here is where the wood and vinyl come into play. I measured the top piece of the dresser and went to Lowes where I had them cut a piece of mdf to size. They were really sweet and cut it to my exact measurements which was great. No need to run home and take out the power tools in the drive way. Once we bought it home I wrapped it up in some durable orange vinyl and simply placed it on top. Due to it’s weight there is no need to nail it on top or use liquid nails to it.
Voila!
So happy with the results and what fun to get back to my DIY posts. I took a little break from them. Lots of craziness going on around here so I haven’t had a lot of extra time, but I now have a lengthy list of finished projects that I’m going to showcase! Woo hoo!

0 Comments:
Post a Comment
Subscribe to Post Comments [Atom]
<< Home