Wednesday, February 16, 2011
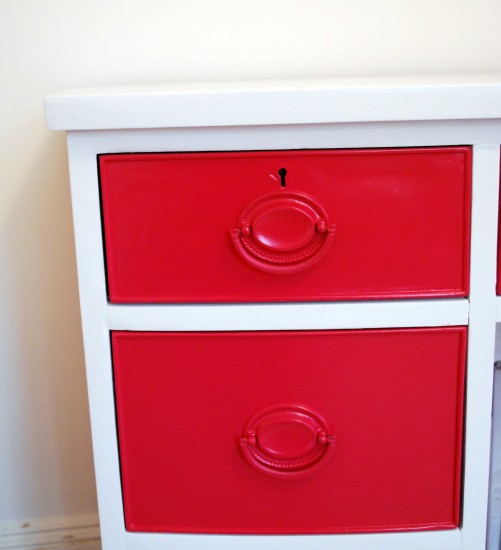
We are always trying to figure out easier/better ways to paint furniture. When possible we prefer to use spray-paint or the paint compressor, because we get a nicer finish (no brush strokes).
With this most recent project we went the spray-painting route.
Here is how we achieved our final project:
We sanded it with 150 grit sandpaper to remove the brush strokes from the previous paint job.
Then we sanded it with 220 grit sandpaper to now smooth out the previous sanding job.
Then you need to wipe it clean with a damp cloth, let it dry and then spray with Odorless Kilz spray paint primer.
Let primer dry, then sand with 220 grit sandpaper, wipe clean again, let dry and then respray primer.
Let dry 2 hours and then re-sand with 220 grit sandpaper.
Now that you have a nice white flat surface due to the primer and sanding you can check out the piece and see if there are any small flaws that need to be addressed.
This is when you would use wood filler to patch up nicks. If your surface is nick free you don’t need to worry about wood filler.
If you are using wood filler use a spatula to apply wood filler into nicks. Let dry. Sand with 220 grit sand paper and then re-spray primer, let dry and then re-sand with 220 grit paper.
I know this may seem extreme and that it might make more sense to do the wood filler first and then prime, but getting a good coat of primer on your piece first will help highlight flaws that you may have not seen otherwise. We were going for a high gloss almost lacquer finished so we needed the smoothest surface possible.
Your surface prep is now finished (finally, right?  ) and you can apply your top coat.
Coat your furniture piece in light coats and allow 15-20 mins in between said coats. Apply 3 to 4 coats making sure color is even on piece.
Let it dry 24 hrs before applying top coat.
It’s always best to apply a protective finish on pieces. It can be tricky when you are painting your piece white, because a lot of poly finishes cause yellowing. Yellowing happens because people apply oil based polyurethane over acrylic/latex/water paints when it should only be applied over oil based paints.
We tend to use acrylic spray paint so our go-to acrylic top coat is Krylon Crystal Clear.
When we use traditional paint like Behr latex paint on furniture our go-to top coat is water based polycrylic likeMinWax Polycrylic.
Final set time varies depending on product. Make sure you read the labels.
Whew if you made it through all that. Hope this is helpful.
We hit GOLD!
Our new favorite spray paint is Montana Gold!
It’s a little bit pricier than other spray-paints, but we loved the rainbow of colors it is available in and it’s smooth application.
Perks:
-It has a nice fine mist that allows for better control when spraying, which helps in avoiding drip marks.
-It coats evenly and only took 2 coats to full coverage.
-It dries quickly.
-A variety of nozzles are available for different applications.
-It coats evenly and only took 2 coats to full coverage.
-It dries quickly.
-A variety of nozzles are available for different applications.
We give it two thumbs up!
Tuesday, February 15, 2011
DIY: No Sew Box Pleat Valance
I’m still not on good terms with my sewing machine so I’m always on the look out to figure out no sew solutions to get my custom window treatment fix.
This project took a couple of hours, but was really simple.
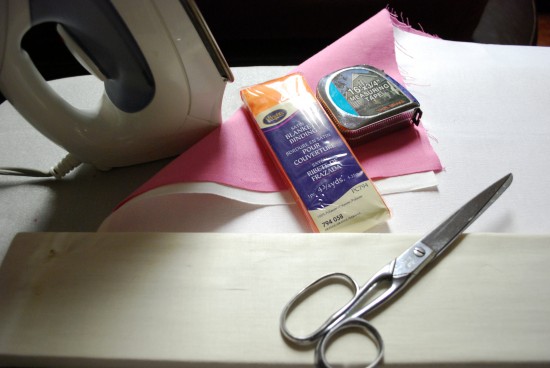
Here is what you need:
- 1/2″ thick mounting board that needs to be covered in neutral fabric. Length of board is determined by window size. Add extra 2″ to the window size for easy installation. When measuring the window you need to measure from outside of trim to outside of trim.
-Qty 2: 2 inch L brackets per window
-Iron
-No Sew tape
-Scissors
-Tape measure
-Fabric
-Lining fabric. I went with outdoor canvas which is stiff and great for forming the valance.
-Blanket binding
Step 1: Cut your fabric to size. You will need 3 separate panels. One for the main section of the board and two smaller sections for the sides. Measurements depend on the size of your window. It will vary for everyone. Now remember the top of the board is going to be covered with your fabric as well so when you are deciding on a width make sure to add a couple of extra inches to your measurement.
For example if you have a 34″ long window then you will need a 36″ long board that is 3″ wide and you want to have the valance hang 10″ long you need to cut a piece that is 38″ long (this allows for a 1″ hem on the sides) and 15″ wide (This allows for the 10″ for hanging, the 3″ to cover the top of the board , an 1″ to staple on the back side of the board and an 1″ for hemming the bottom of the valance.
*Sounds complicated, but once you see the pictures below it will all make sense.
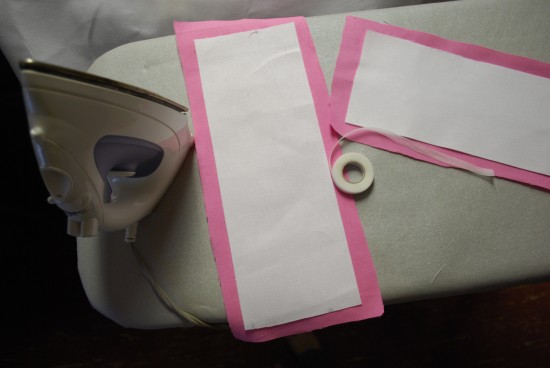
In order to give my window treatment more weight I lined my fabric with outdoor canvas.
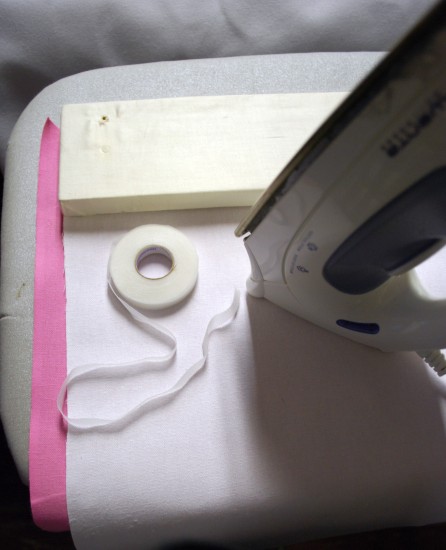
In order to get a nice crisp hem with my no sew/iron on tape I made my lining fabric an inch smaller. Hem the sides only and wait to do the bottom hem until the main piece is stapled on to the board.
When you cut the sides make sure to make the panels 2″ wider in order to have some fabric to wrap around the front and give the box pleat look. Again remember you need some extra inches for hemming.
For example if your mounting board is 3″ wide then you need to cut a piece that is 7″ wide ( 1″ to hem the back, 3 ” for the width, 2″ to wrap around the front and 1″ to hem the front.) For the length we still need to get to 10″ for our finished length, but it’s a bit different than our main panel. You need 2″ to staple the side on to the mounting board, 10″ for length plus 1″ to make your finished hem for a total of 13″.
*We hemmed the sides on the side panels and then waiting to hem the bottom once the side panel was stapled on. It makes it easier to ensure you are at 10″ inches.
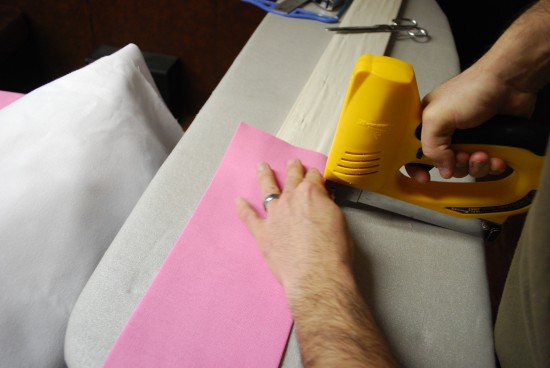
Step 2: Once all of the measuring and cuts are made the hard part is done. With all of the pieces hemmed(except for the bottom hems) you can now start stapling them on to your board.
Make sure to staple your side firsts. The main panel will lay over the sides and give a crisp/clean finished look.
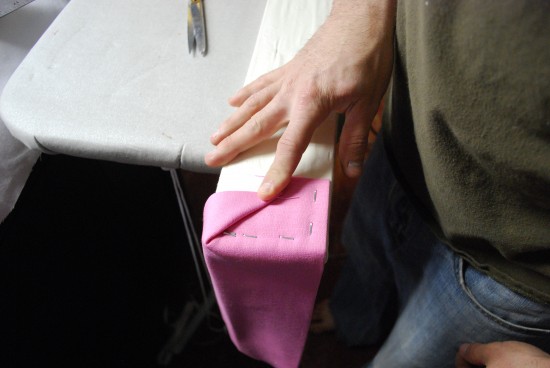
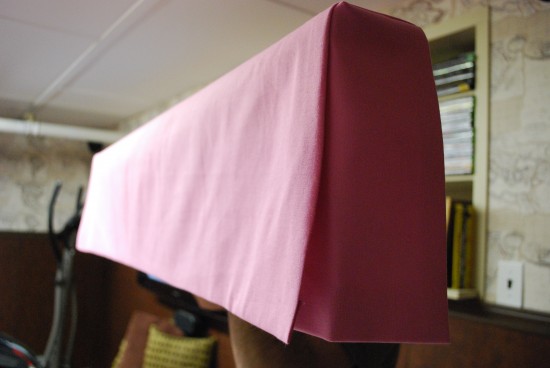
When turning the corner just wrap it like a present and staple away:
Once the side panel is staples on top you can now hem the bottom. Measure out to 10″ and make a mark:
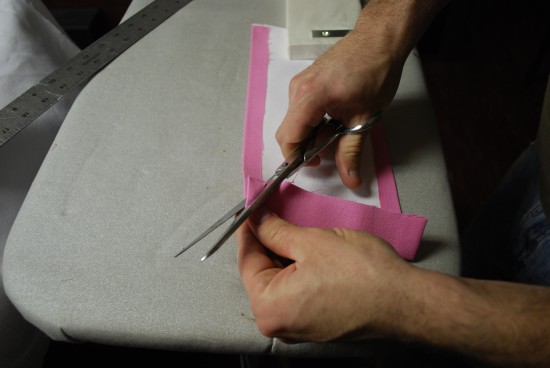
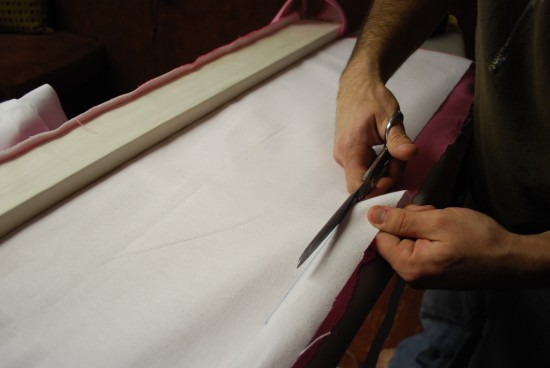
To get a crisp edge on the sides make sure you cut the edges on an angle.
Repeat the steps for the other side panel.
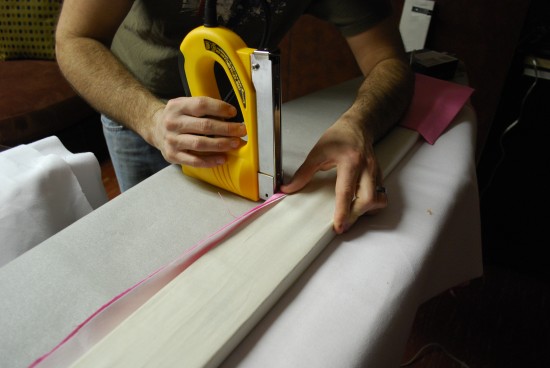
Step 3: Attaching the main panel. You will first staple the panel onto the edge of the mounting board.
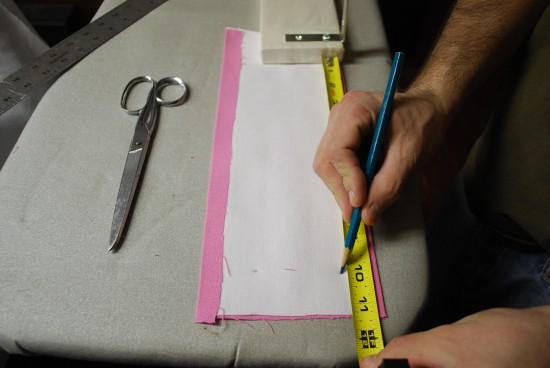
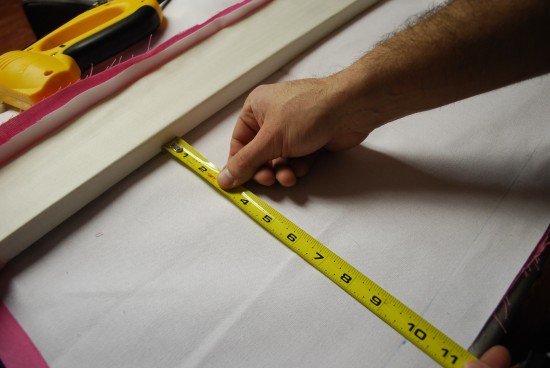
Once piece is stapled on to the board take your tape measure and mark 10″ from the bottom edge of the board:
You can cut the the lining fabric at the 10″ mark. You will have an inch of the pink fabric remaining that can now be folded over the edge of the lining fabric and hemmed perfectly at 10″.
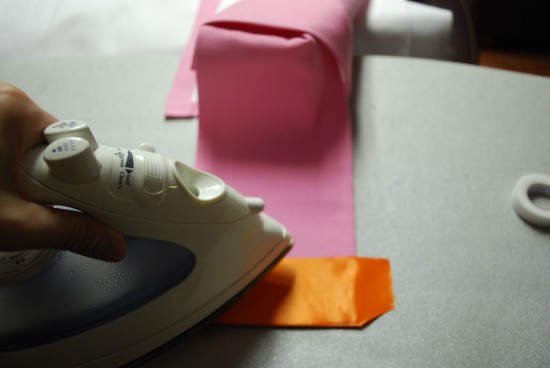
I used iron on hem tape for everything and once you are done ironing the hem on the main panel you are almost finished!
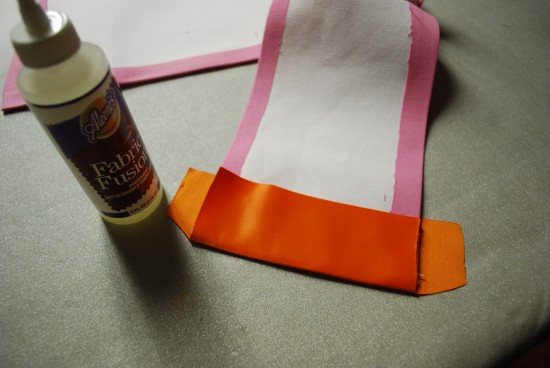
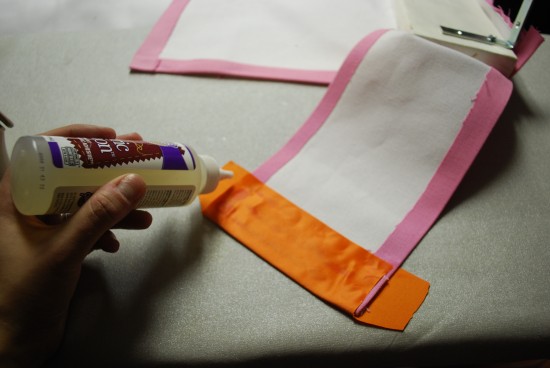
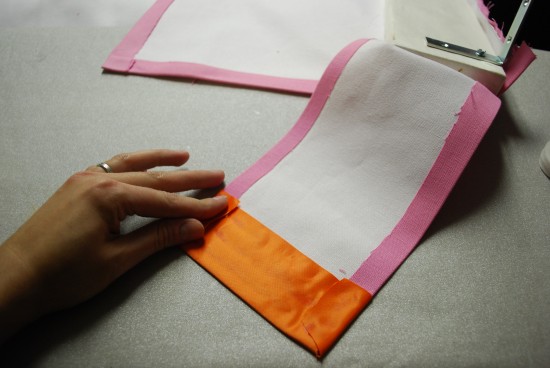
Now you can leave the piece as is and hang it, but we wanted to add a contrasting color. The blanket bindingwas the perfect solution for this. It gave me my contrasting color, it was inexpensive and it gave me a nice finish and no measuring was necessary.
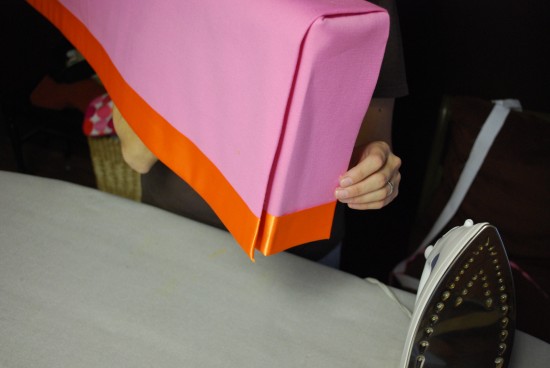
A picture is worth a thousand words so instead of heavy copy trying to explain how we added on the trim check out the following pictures:
Once that’s done you can do the same to the other side and then main panel.
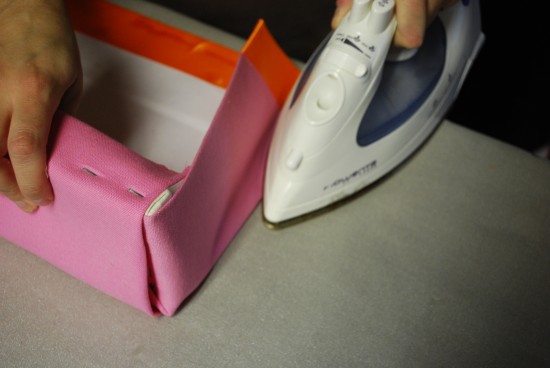
In order to get a crisp finish on the box pleat we used our iron to work on the sides:
Voila:
*We used fabric glue to attach the blanket binding to the back of the fabric panels. No real reason for it. We were just running low on the iron on hem tape.
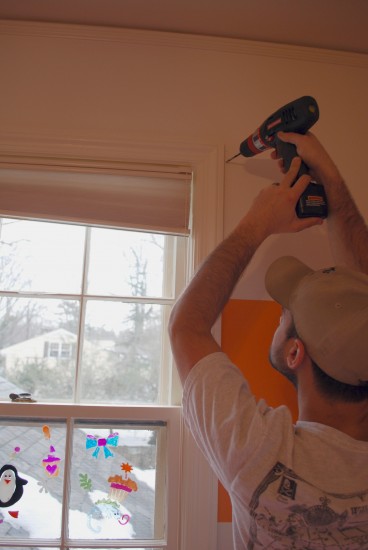
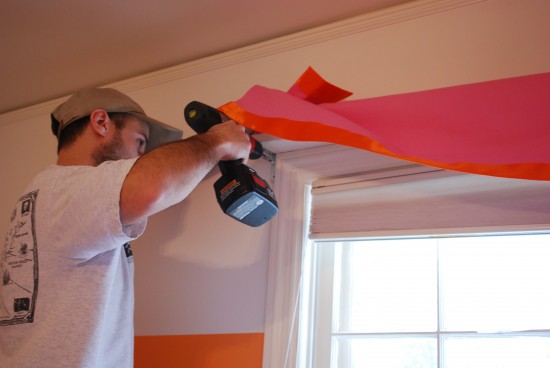
Here is how you hang them up:
Place holes for L brackets on the sides of the window trim:
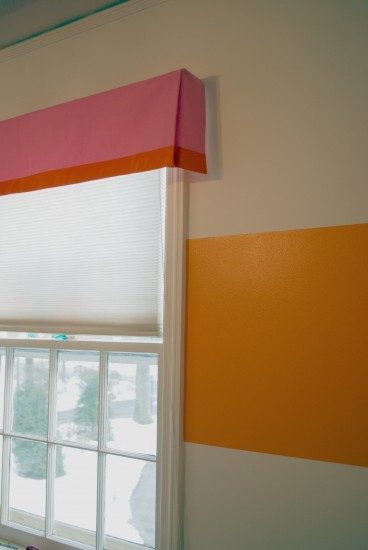
All finished:
I’m not going to lie the project is a bit time consuming. It took us about an hour and half per valance, but cost wise it’s worth it.
Budget Breakdown:
2 yards of pink canvas: $16
1 and half yards of white outdoor canvas for lining: $14
1 package of blanket binding: $5
Package of iron on hem tape: $ 9
We reused the mounting boards: Free
Total: $44 for two valances.
If you have any questions leave them in the comment section and I will be answering them there. If you made it through this huge post then Bravo!
Monday, February 14, 2011
Weekend Recap: Orange & Pink!
This weekend I got to go do a partial install at my favorite client’s home. You see a couple of months ago I had a meeting with an almost 10 yr old little lady. Turns out all she wanted for her 10th birthday was to get a new room. So I was brought in and we had a design consult and discussed her likes/dislikes and over all design styles.
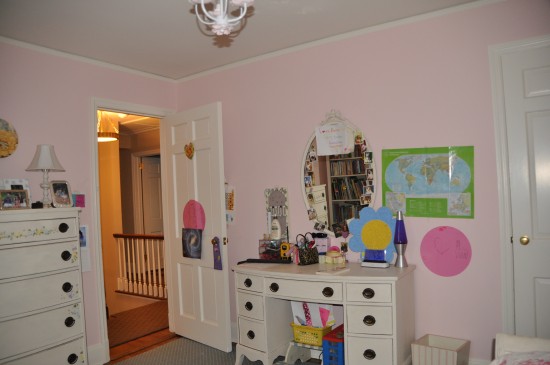
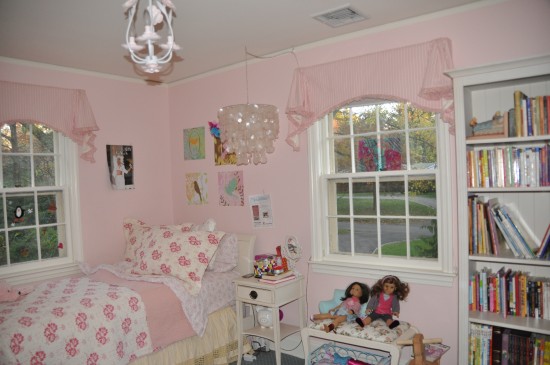
Here is what her room looked like when I first arrived:
There was a little too much pink, flowers and country style furniture for my little client’s current needs.
We are still waiting on a couple of things to arrive, but here is what we ended up with on Saturday:
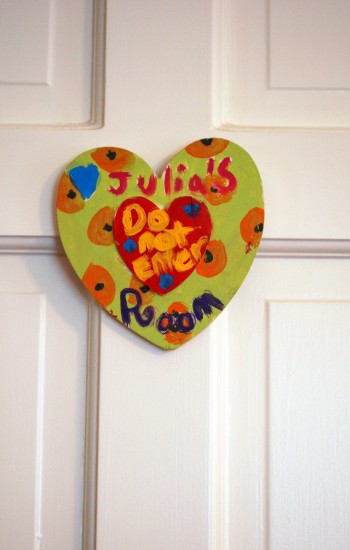
I love all of the hand painted pieces that my client has in her room:
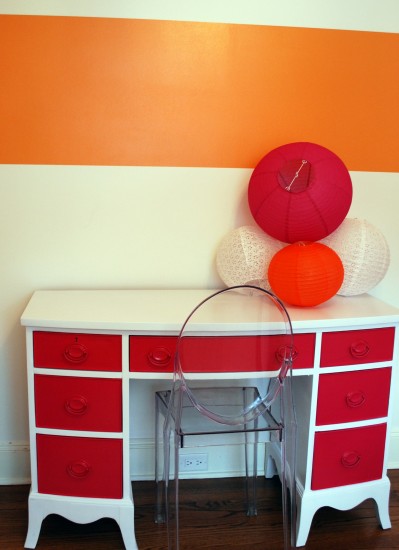
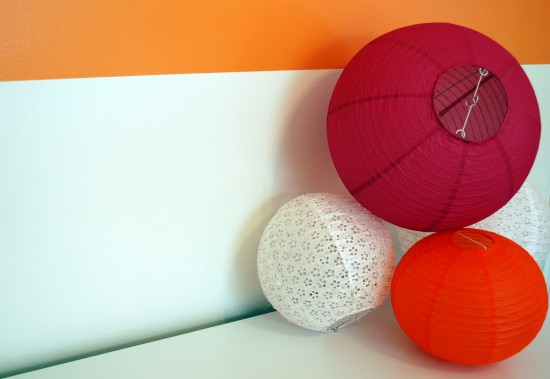
We decided on a new color palette of orange/white/bright pink. When I first met with my client she actually wanted a white lacquered walls! My kind of girl. We couldn’t get the okay on that, but we did have the walls painted an almost white shade and then had a bit of fun with an orange stripe. Paper lanterns were also high on her list so I had to make sure I had those on hand this weekend.
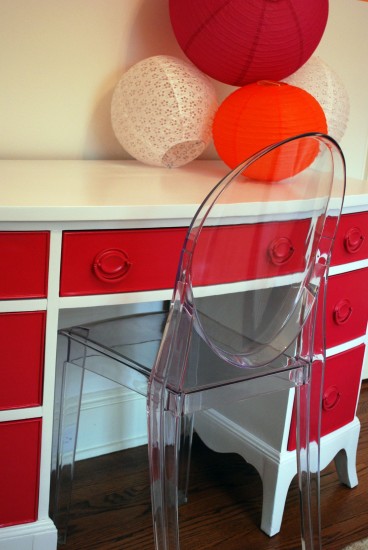
We switched out most of the furniture in the room, but the desk had to stay so it got a little face lift and a stylish new chair.
Yes, totally jealous that my little client has a ghost chair and I don’t.
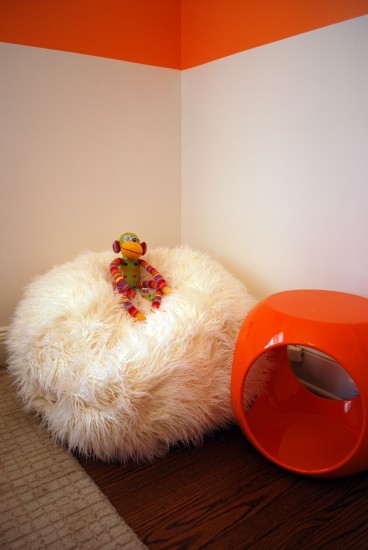
We also needed a little hang out nook so we went a bit retro and did a bean bag chair and a modern pod side table. The paper lanterns are floating over the chair.
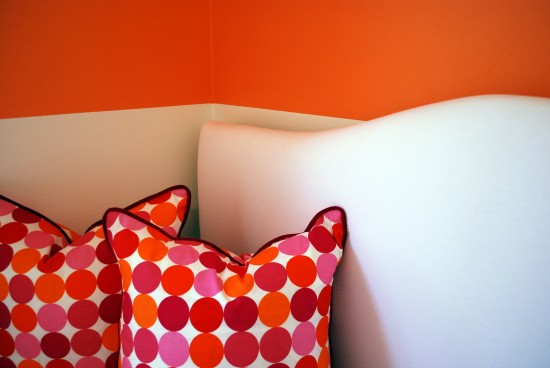
A big plus to the new room design was going from a twin bed to a full sized bed. You can’t imagine how excited she was about that. We are still waiting on the mattress, but here is a little peak:
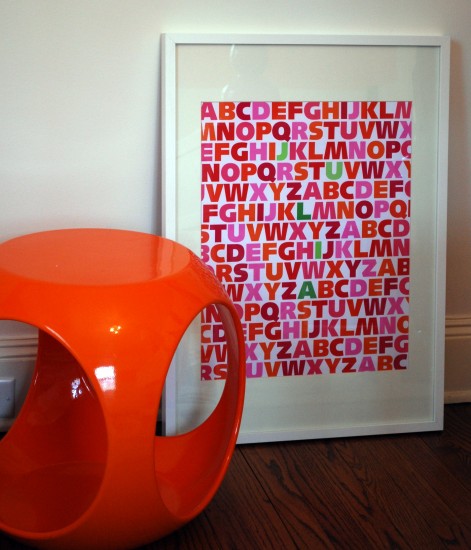
Custom artwork is also a must have so I went with a budget friendly option and picked up this print by Jen atMade by Girl.
Don’t worry it’s going to get hung over this piece once it arrives.
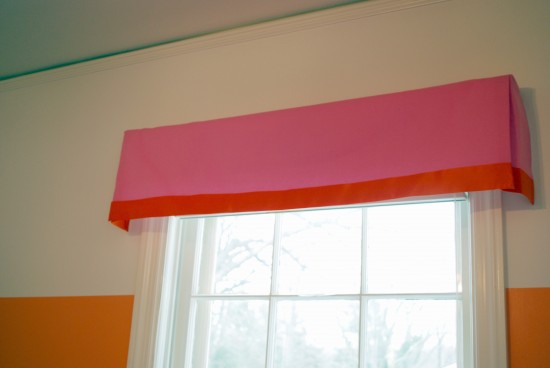
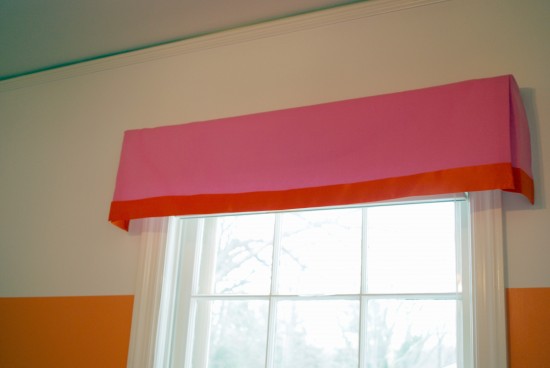
The traditional window valances also needed to disappear. We wanted to keep things chic and simple so we did this instead:
It was a really easy DIY project that I’m going to blog about tomorrow.
A couple of pieces are still missing, but the over all look has now taken over the room and we had a very happy client on our hands as we were leaving.
How was your weekend?
Friday, February 11, 2011
X marks the spot
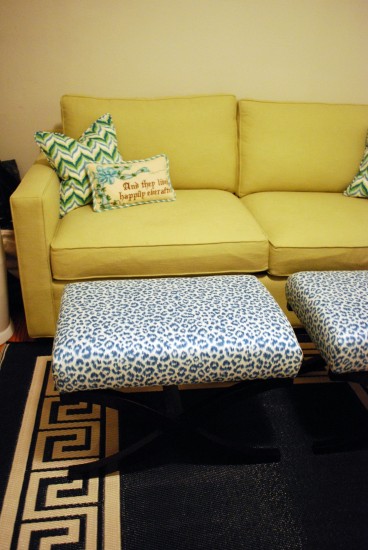
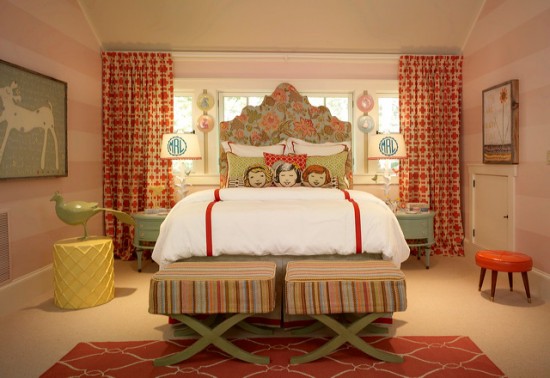
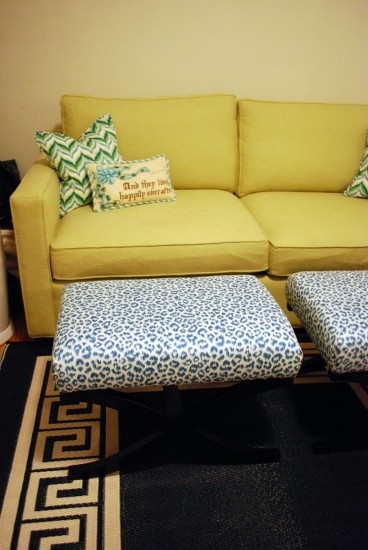
I got numerous emails about the x-benches in one of my recent projects:
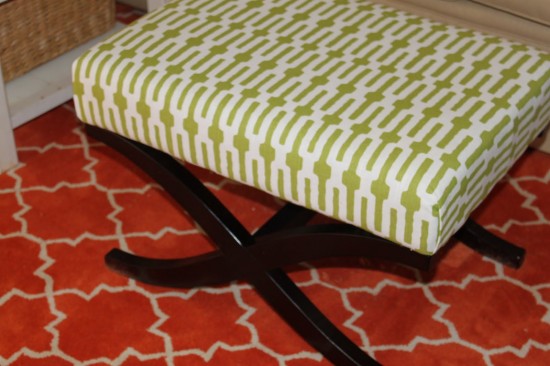
They were a very simple DIY project. I just purchased two of thesefor $49.99. *They are now $59.99 each.
I just added a layer of batting on top of the existing animal print and the just stapled on my new fabric. It also takes about a yard per x-bench.
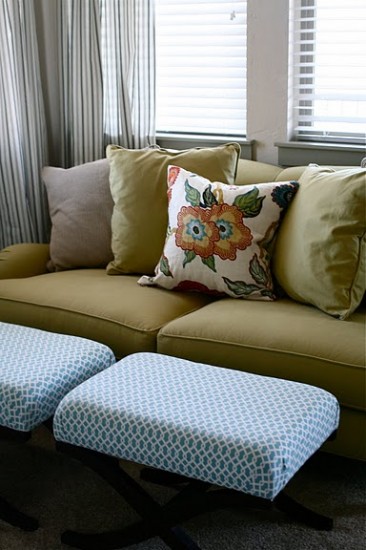
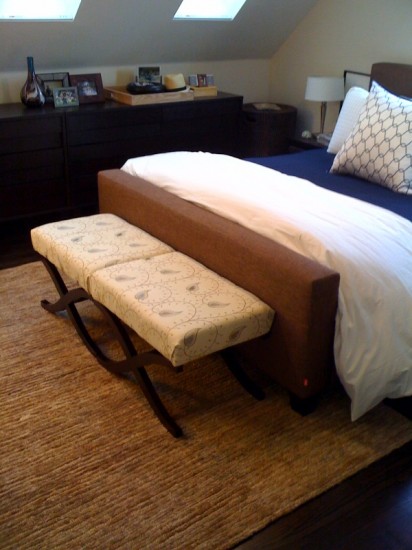
I’m not the only one that has tackled this project.
Caitlin from Caitlin Creer started the trend with a set she made for a client:
Courtney from Courtney Out Loud made a set for his own bedroom:
Shannon from Shannon Berrey Designs used the same x-bench in project, but she gave the legs a new coat of paint and just slip=covered the tops.
The possibilities are endless. Have you recreated one yourself? Any other favorites you’ve seen in blog land?
Thursday, February 10, 2011
A bit of twinkle
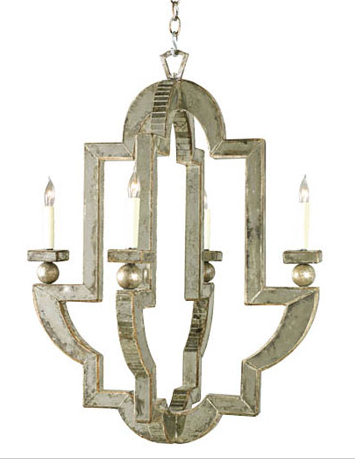
Around two years ago I fell in with this amazing chandelier by Niermann Weeks:
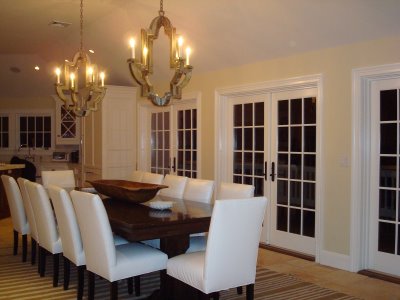
I had first laid my eyes on it while I was celebrating my sister’s birthday at her friend’s gorgeous beach house.
She is lucky enough to have two hanging in one of her dining rooms:
It was love at first sight for me and I’ve been thinking about that light fixture ever since.
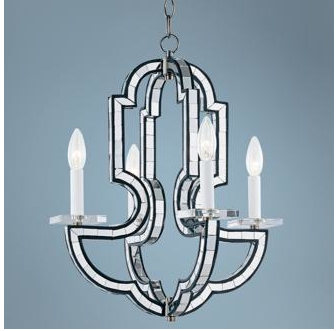
You can only imagine my excitement when I found this the other day:
Now it’s a bit smaller (16″ wide by 19″ high), but this just means the price is tag is smaller ($419) as well. I love it! I think it would look perfect in an entry way, powder room, hallway, bedroom, nursery or perhaps two above a kitchen island.
Can’t wait to use it in a client’s home or more importantly my own home. 
Do you have your own great look for less story? You know I love a bargain! Spill.
DIY Block Print rug
Totally falling in the same design style as my post this morning is this amazing diy project from Apartment Therapy.
That stunning rug was an inexpensive wool rug from IKEA that is about 10 years old. With the help of a welcome mat Leah achieved the look above. Check out the details here.
In love! Must try this.
Image via Apartment Therapy.
Wednesday, February 9, 2011
Eclectic Finds
Lately I’ve been finding myself more drawn to eclectic finds that give a room a sense of travel, warm and energy! Little by little I’ve been injecting a little bit of a global vibe to my home and I’m loving it.
Here are a couple of additions that you can make to your own home:
1. Faux block print window panels.
2.I’ve been in love with lighting piece forever.
3. Of course I had to find a little Ellie to throw into the mix.
4. Ty Pennington’s new fabric line is here and it’s fab and inexpensive.
5. Wood Scalloped Charger that is on sale for $3.95. Mount it on the wall as is or glue on a mirror to the center!
6.Pretty paisley pillow
7. Chevronworks in all design styles.
8. Stripes! Need I say more.
9. Let their be light for only $56.
10.Owls are quickly becoming a new favorite animal of mine.
11. Magic carpet ride
Have you injected a little global vibe to your home?
Tuesday, February 8, 2011
Style Plan: Cheerful and Inviting Dining Room
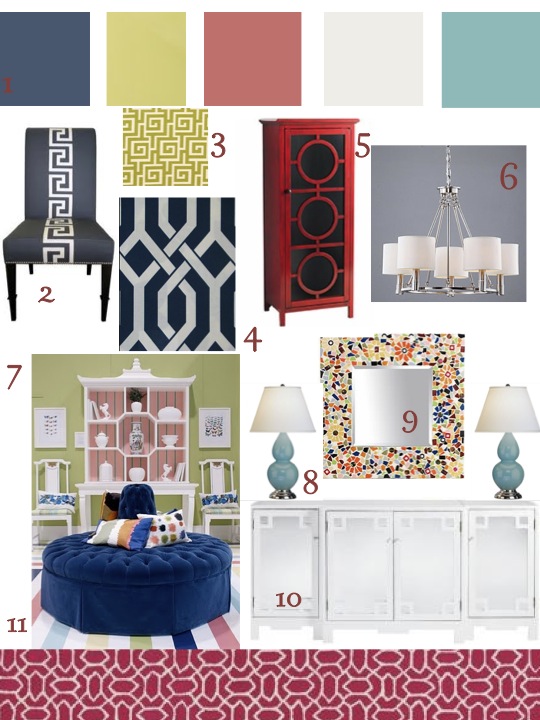
I always love when a client enjoys color as much as I do. To date this is one of my favorite style plans and I can’t wait till the after photos pop up in my in box.
I was already designing a plan around a cheery coral, bold navy and pop of citron and when I saw that amazing floor from Style at Home’s booth everything just fell into place.
Monday, February 7, 2011
Love Knot
In love with this knot mirror. I recently used it in a client’s home and I’m currently trying to figure out where it can go in my home. It’s a nice size and only $70!
A big thanks to Daniela for letting me know about this great buy.
Weekend Recap: Client work
I had an action packed weekend full of work. It included trips to my seamstress, loading and unloading the car in the pouring rain, an install that ran till 11pm and then a Sunday filled with e-decorating clients. Oh also tried convincing Jon that I need and I mean need to paint my living room….light pink. He is still not budging…
Here are some peeks into one of my latest jobs that is almost finished!
*It was really dark when we were finished so I had to use flash. Excuse the picture quality.
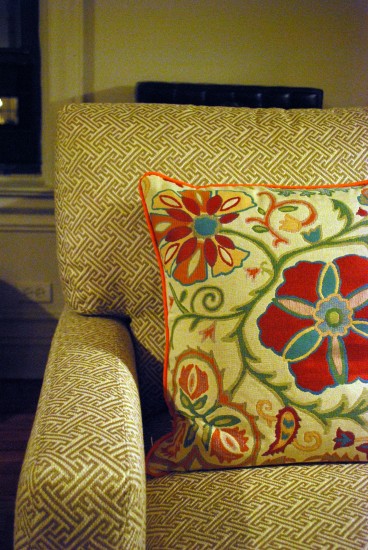
Lovely new Lee Industries chairs arrived with. Perfectly topped with my favorite fabric.
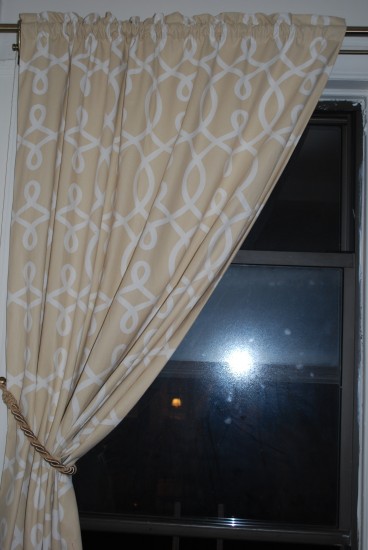
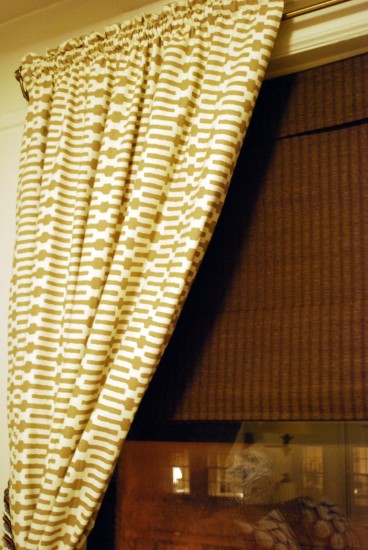
Window treatments went up:
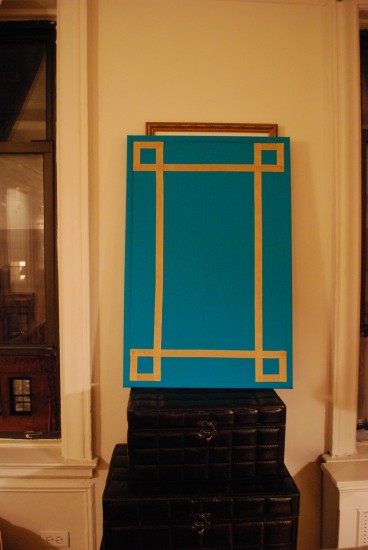
Greek Memo Boards for Living Room office nook:
{ I made a set of 2, but we aren’t sure where they are going yet. I had to shoot them anyway to share with you all.}
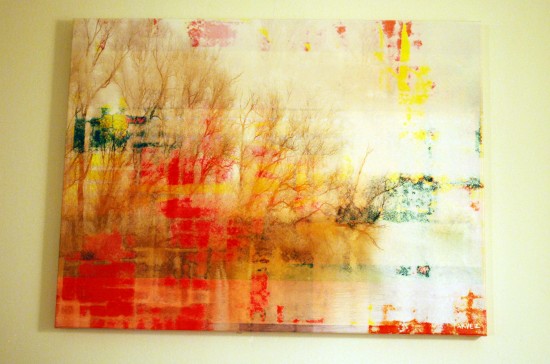
Artwork got hung:
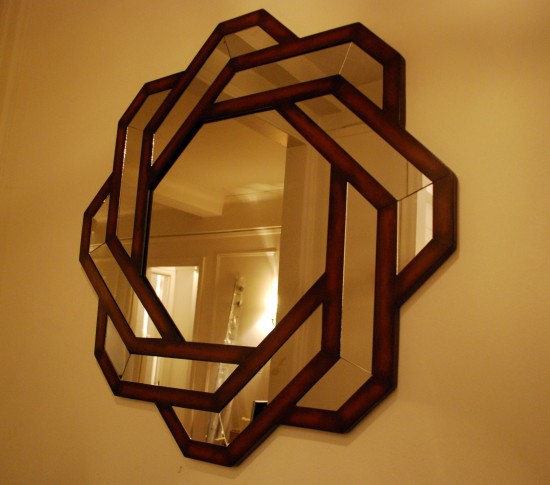
Mirror Mirror on the wall for the entry way:
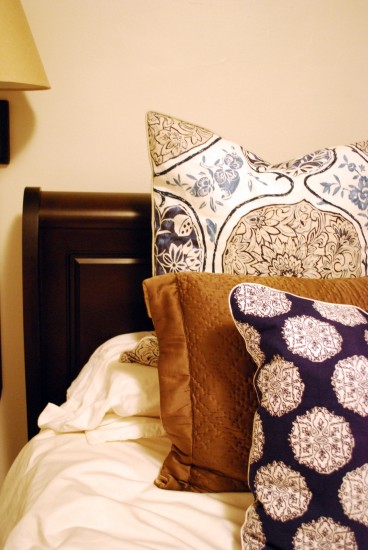
The master bedroom also got a little love:
Plus there is a little new addition that will be arriving in March so his room needed a little sprucing up as well.
We were for 10 hours and got a lot done, but we still have more to finally finish it. This project will be completed by the end of Feb. Can’t wait to share daylight pictures when it’s all finished up!
What were up to this weekend?
